

BLOG
How to Remove Dried Plumber’s Putty and Silicone Residue from Sinks

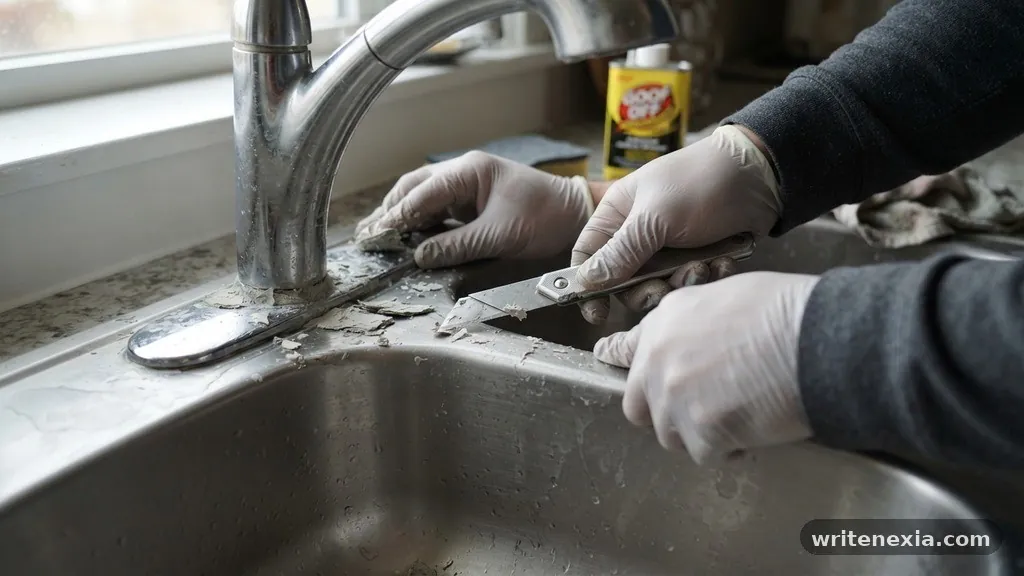
Removing Dried Plumber’s Putty and Silicone Residue from Sinks is a common maintenance task that often feels more daunting than it actually is. Whether you are upgrading your faucet or fixing a persistent leak, dealing with the hardened, crusty remnants left behind by previous installations is essential for a clean, watertight seal on your new components.
This article provides practical, step-by-step techniques to clear these stubborn materials without damaging your sink’s finish. You will learn which household solvents work best, how to safely use mechanical tools, and the professional tricks to ensure your plumbing fixtures sit flush against the basin surface every single time.
Immediate Removal of Hardened Plumber’s Putty
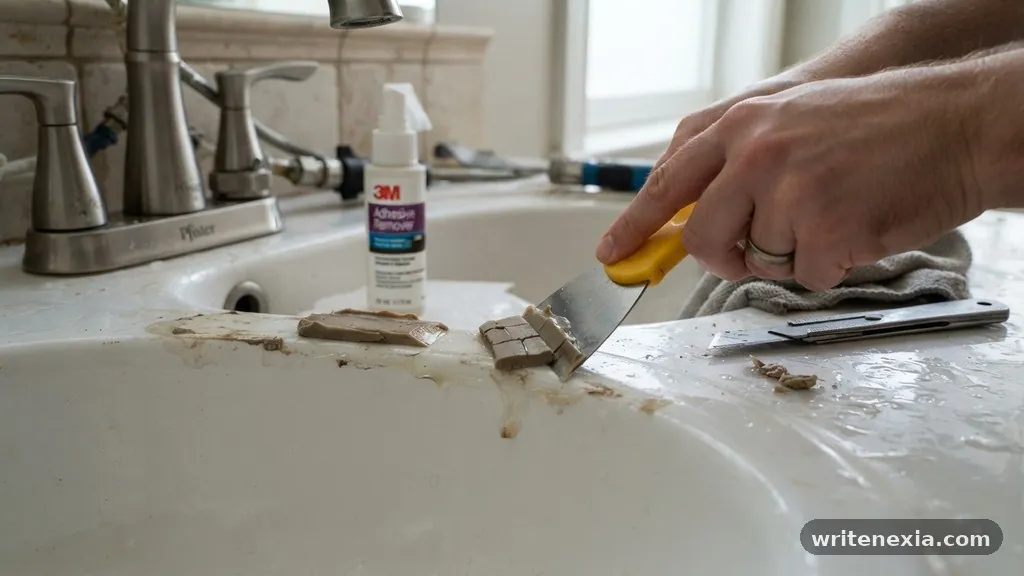
The most effective way to address old, hardened plumber’s putty is to soften it before attempting to scrape it away. Plumber’s putty is oil-based, meaning it will eventually dry out and lose its elasticity over time, turning into a brittle, rock-hard substance that clings to metal and porcelain. You should start by using a plastic putty knife rather than a metal one to avoid scratching the surface of your sink.
If the putty remains stubborn, applying a small amount of heat can often do the trick. Use a hair dryer on a medium setting for about 30 to 60 seconds to warm the material, which helps restore some of its original pliability.
Once the putty feels slightly softer, you can gently pry it up. Most of the residue should come off in large, cohesive chunks rather than crumbling into a thousand tiny pieces.
After the bulk of the material is gone, you might notice a slight oily film remaining on the sink surface. This is common because the oils in the putty soak into microscopic pores in the finish.
You can easily remove this oily residue by wiping the area with a cloth dampened with mineral spirits or simple paint thinner. Always ensure the room is well-ventilated when working with these solvents, and wear gloves to protect your skin from irritation.
Dissolving Silicone Sealant Residue
Silicone is significantly more durable and chemically resistant than putty, making it much harder to remove once it has fully cured. Unlike putty, which softens with heat, silicone usually requires a combination of mechanical scraping and chemical assistance to break its bond. Start by using a sharp razor blade held at a low angle to shave away the thickest layers of the silicone.
Be extremely careful when using a razor blade, especially if your sink is made of acrylic or fiberglass, as these materials scratch very easily. For stainless steel or vitreous china sinks, you have more leeway, but steady hands are still required. Once you have removed the majority of the bulk, you will likely see a thin, transparent layer of silicone still clinging to the metal or ceramic.
To tackle this final layer, you should use a specialized silicone caulk remover or a high-quality solvent. Apply the solution according to the manufacturer’s instructions and let it sit for the recommended duration, typically 10 to 20 minutes.
The chemical will cause the silicone to swell and lose its grip, allowing you to wipe it away with a dry paper towel. Repeat this process if necessary until the surface feels perfectly smooth to the touch.
Tools Required for the Job
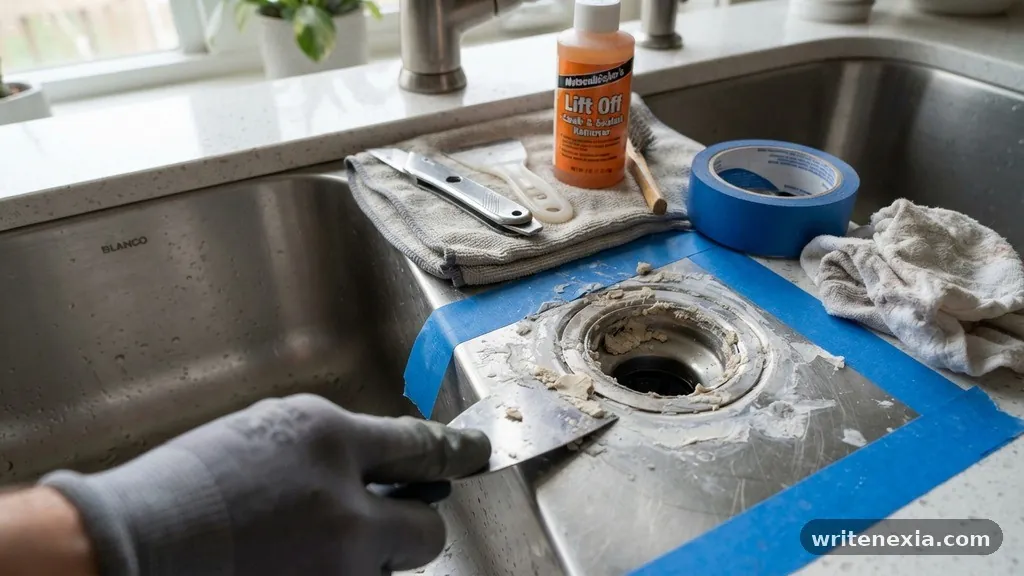
Having the right equipment on hand makes the entire process of removing Dried Plumber’s Putty and Silicone Residue from Sinks significantly faster. You do not need expensive power tools, but using the correct implements prevents damage to your plumbing fixtures. A well-stocked kit ensures you won’t have to stop mid-project to hunt for supplies.
- Plastic putty knife for safe scraping on delicate surfaces.
- Utility knife or razor blade for cutting through thick silicone beads.
- Microfiber cloths for wiping away dissolved debris.
- Mineral spirits or denatured alcohol for cleaning oily residues.
- Nitrile gloves to protect your hands from harsh chemicals.
- A small stiff-bristled nylon brush to reach into tight corners.
- Safety glasses to protect your eyes from flying debris or splashes.
Always keep a stack of paper towels nearby to wipe away the gunk as you scrape. If you allow the removed putty or silicone to sit on the counter or sink surface, it can leave behind unsightly smudges that are harder to clean later. Taking the time to gather these items before you start will lead to a more efficient and professional-looking result.
Comparing Removal Methods
Different materials respond differently to various cleaning agents. Understanding the strengths and weaknesses of each approach helps you choose the best method for your specific sink type. The table below outlines the effectiveness of common removal strategies for these two distinct types of plumbing sealants.
| Method | Best For | Effectiveness | Safety Level |
|---|---|---|---|
| Heat + Plastic Scraper | Plumber’s Putty | High | High |
| Mineral Spirits | Putty Residue | High | Moderate |
| Razor Blade | Cured Silicone | High | Low |
| Silicone Solvent | Silicone Residue | Moderate | Moderate |
As shown in the table, mechanical removal is often the most effective for silicone, while chemical solvents are essential for cleaning up the oily film left by putty. Always test a small, inconspicuous area of your sink with any solvent before applying it to the entire basin. This simple precaution ensures that the chemical will not discolor or damage the finish of your specific sink material.
Safety Precautions During Cleanup
Working with chemical solvents and sharp blades involves inherent risks that you should never ignore. Proper ventilation is the first line of defense when using mineral spirits or commercial silicone removers. Open a window or turn on the exhaust fan in your bathroom or kitchen to ensure that fumes do not build up in the confined space.
Protecting your skin is equally important, as these solvents can strip away natural oils and cause dermatitis. Wearing chemical-resistant nitrile gloves is a standard practice among professional plumbers.
If you happen to get any solvent on your skin, wash the area thoroughly with soap and water immediately. Avoid using these chemicals near open flames or pilot lights, as most solvents are highly flammable.
When using a razor blade, always cut away from your body and keep your fingers clear of the blade’s path. If you find yourself applying too much pressure, stop and re-evaluate your technique.
You might need to apply more solvent to soften the material further rather than forcing the blade through. Remember that patience is your best tool when dealing with stubborn, long-standing sealant residue.
Cleaning Stainless Steel Sinks
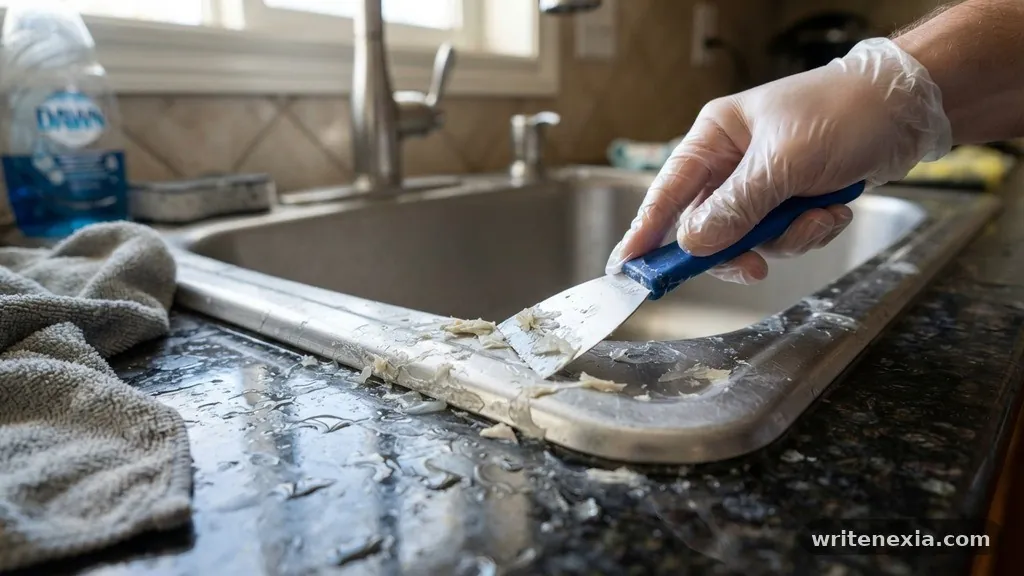
Stainless steel is a common material for kitchen sinks, and it is generally quite resilient. However, it can still suffer from scratches if you use abrasive scouring pads or metal scrapers.
When removing residue from stainless steel, focus on using plastic tools and chemical solvents to do the heavy lifting. The goal is to lift the sealant away from the steel surface without leaving permanent marks.
If you have stubborn spots that won’t come off, you can use a fine-grit nylon scrubbing pad. Be sure to scrub in the direction of the metal’s grain to maintain the original finish.
After you have successfully removed the putty or silicone, wash the entire sink area with warm, soapy water. This removes any chemical residue and leaves the steel looking bright and clean.
Avoid using steel wool on stainless steel, as tiny iron particles can become embedded in the surface and cause rust spots to develop over time. If you do notice minor surface scratches, a specialized stainless steel polish can often hide them effectively. Keep the surface dry after cleaning to prevent water spots from forming while the sink is empty.
Addressing Porcelain and Enamel Sinks
Porcelain and enamel surfaces are harder than metal but are prone to chipping if struck by a hard tool. When working on these surfaces, avoid using metal scrapers entirely.
A rigid plastic scraper or even a credit card can provide enough leverage to remove old putty without damaging the vitreous finish. If you must use a blade, hold it at an extremely flat angle to minimize the risk of gouging the enamel.
Porcelain is resistant to most chemicals, so you have more freedom in choosing your cleaning agents. Mineral spirits and even heavy-duty degreasers work well on these surfaces. If you have deep-seated stains around the drain flange, a paste made of baking soda and water can act as a mild abrasive to gently lift the discoloration.
Always dry the sink thoroughly after cleaning. If you leave water sitting on an old, worn enamel sink, it can eventually cause oxidation or rust if the metal beneath the enamel has been exposed. By taking care during the removal process, you ensure that the integrity of the porcelain remains intact for many more years of use.
Removing Residue from Drain Flanges
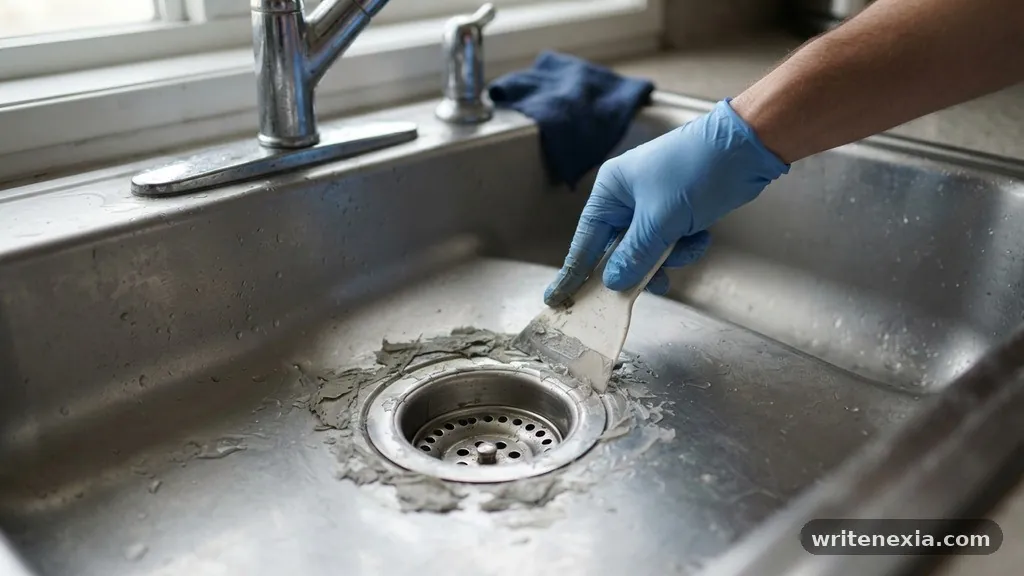
Often, the most difficult residue to remove is located in the crevice between the drain flange and the sink floor. This area is tight and hard to reach, which makes it a magnet for old putty and grime.
To clean this effectively, you may need to disassemble the drain assembly entirely. Once the flange is removed, you can easily clean both the sink surface and the underside of the flange itself.
If you prefer not to remove the drain, use a small, stiff-bristled brush dipped in mineral spirits to scrub the gap. A toothpick or a dental pick can be useful for digging out hardened putty that has worked its way deep into the threads. Take your time, as clearing this area is essential for ensuring that your new seal will be watertight.
If the flange itself is covered in crusty, old material, soak it in a container of hot, soapy water for an hour. This often loosens the debris enough that it can be wiped away with a cloth. If the flange shows signs of severe corrosion, this is the perfect time to replace it with a new one rather than trying to salvage the old, damaged part.
Preventing Future Buildup
The best way to deal with sealant residue is to ensure the next installation is done correctly. When installing a new drain or faucet, use only the recommended amount of plumber’s putty.
A common mistake is to use too much, which leads to excess material squeezing out from under the fixture. This excess is what eventually becomes the crusty residue you have to clean up later.
Before applying the new seal, ensure that the mating surfaces are completely clean and dry. Any moisture or dust trapped beneath the putty or silicone will prevent a proper bond, leading to leaks. If you are using silicone, be aware that it cures very quickly, so you must position your fixture accurately on the first attempt.
Consider the environment of your sink when choosing a sealant. Plumber’s putty is excellent for drain flanges because it remains flexible for a long time, but it should never be used on plastic or marble surfaces, as it can stain or crack them. Silicone is more versatile but is much harder to remove, so reserve it for areas where a permanent, waterproof bond is truly required.
Common Mistakes to Avoid
Many DIYers make the mistake of using harsh acids or abrasive cleaners that are not meant for plumbing fixtures. For example, some people try to use drain cleaners to soften putty, but these chemicals are designed to eat through organic matter, not mineral-based sealants. They can also damage the finish of your sink and the seals inside your pipes.
Another frequent error is rushing the process. If you try to scrape off silicone before it has been sufficiently softened by a solvent, you will likely end up with a messy, uneven surface.
Patience allows the chemistry to work for you, making the physical labor much easier. Always follow the instructions on your cleaning products, as some require a specific dwell time to be effective.
Lastly, do not ignore small leaks during the installation process. If you see water seeping out after you have tightened the drain, do not try to “patch” it with more putty from the outside.
You must disassemble the connection, clean the surfaces thoroughly, and re-apply the sealant properly. Doing it right the first time saves you hours of frustration and potential water damage to your cabinets.
Frequently Asked Questions
Does vinegar dissolve plumber’s putty?
No, vinegar is not effective at dissolving plumber’s putty. Because putty is oil-based, it requires a solvent like mineral spirits or paint thinner to break down the oily bond. Vinegar is acidic and might actually harm certain sink finishes without softening the putty at all.
Can I use a metal scraper on a porcelain sink?
It is highly recommended that you do not use metal scrapers on porcelain sinks. Even if you are careful, a single slip can cause a permanent scratch or chip in the enamel. Always use a plastic putty knife or a stiff plastic card to remove residue safely.
How do I know if I should use putty or silicone?
Use plumber‘s putty for drain flanges and basket strainers, as it stays flexible and is easy to remove if you need to fix a leak later. Use silicone for areas that require a permanent, high-strength waterproof bond, such as where a sink meets the countertop or for mounting certain types of faucets.
Is it possible to remove silicone without a chemical solvent?
Yes, it is possible to remove silicone using only mechanical means, such as a razor blade or a specialized silicone removal tool. However, this is time-consuming and carries a higher risk of scratching the sink surface. Using a solvent makes the process much cleaner and reduces the risk of damage.
What should I do if the putty has stained my sink?
If the putty has left an oily stain, try cleaning it with a degreasing dish soap first. If that doesn’t work, a gentle abrasive like baking soda mixed with a little water can often lift the stain. For stubborn marks on stainless steel, a dedicated stainless steel cleaner is usually effective.
Summary and Next Steps
Removing Dried Plumber’s Putty and Silicone Residue from Sinks is a manageable project when you use the right tools and techniques. By softening stubborn putty with heat or mineral spirits and carefully cutting away cured silicone, you restore your fixtures to a pristine state. Always prioritize surface safety by using plastic tools on delicate finishes and wearing appropriate protective gear.
A clean, residue-free surface is the foundation of any successful plumbing installation, ensuring that your new seals hold tight and remain leak-free. If you follow these steps, you will find that the process is straightforward and yields professional-quality results.
Take your time, work methodically, and enjoy the satisfaction of a job done correctly. If you need further advice on specific sink materials, feel free to reach out to a local professional for guidance.
Помогаем быстро перейти от консультации к конкретному плану: выезд, стационар или наблюдение.
Ознакомиться с деталями – [url=https://narkologicheskaya-klinika-voronezh20.ru/]наркологическая клиника цены в Воронеже[/url]