

BLOG
Scribing a Vanity Countertop to Fit Out-of-Square Alcove Drywall

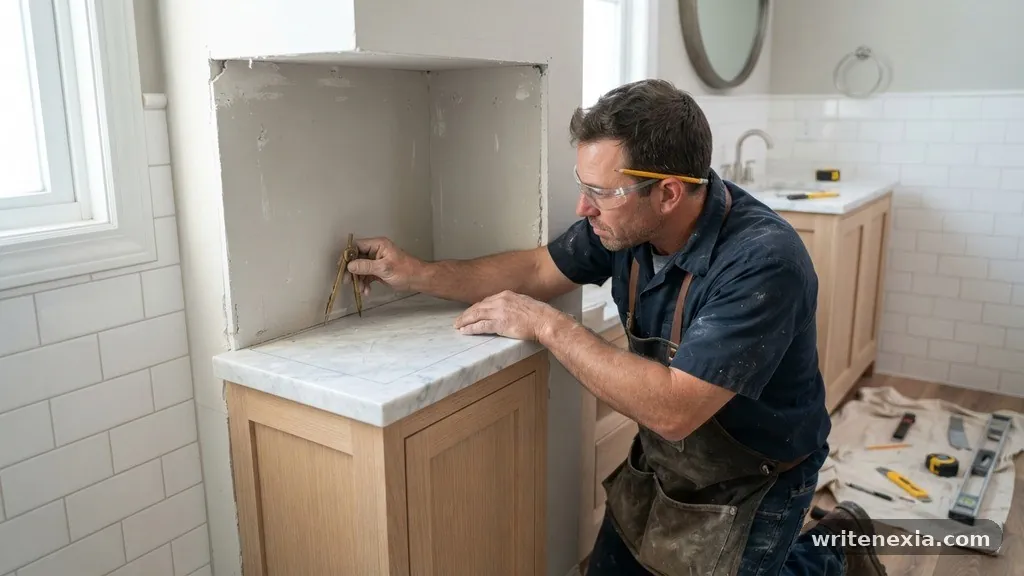
Mastering the process of scribing a vanity countertop to fit out-of-square alcove drywall is the difference between a amateur-looking gap and a professional, built-in appearance. Many homeowners assume walls are perfectly plumb, but older homes and even new builds often feature subtle curves or tilts that make installing a flat slab difficult.
By learning how to transfer the exact contour of your wall onto your countertop material, you ensure a tight, custom fit that requires minimal caulking. This article provides the practical techniques needed to achieve a clean result when you are dealing with irregular surfaces, helping you avoid common mistakes during your bathroom renovation.
The Core Technique for Scribing
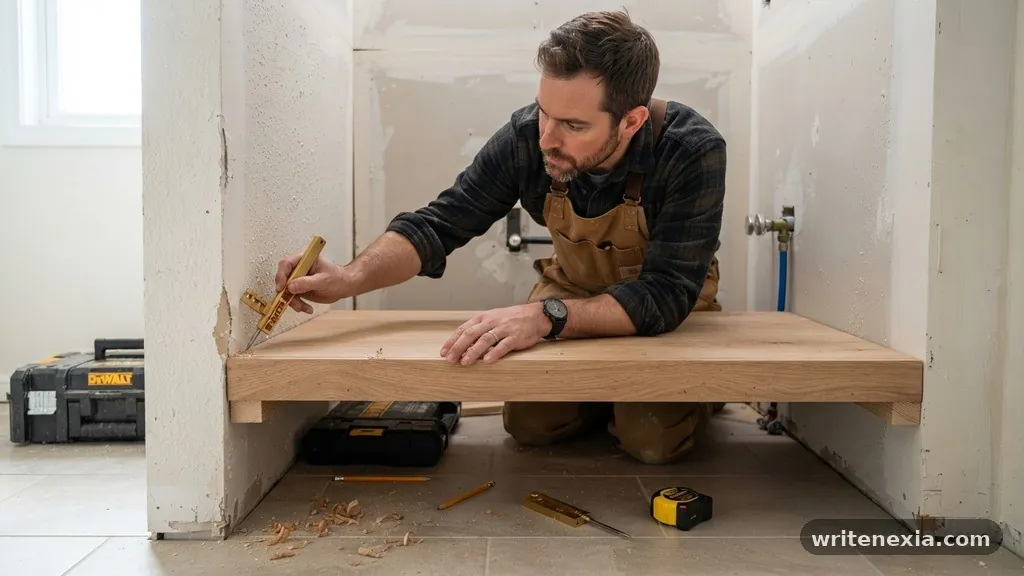
The fundamental concept behind this process is using a compass to trace the exact profile of the wall onto the countertop. You start by pushing the countertop as far into the alcove as possible, noting where it hits the wall first.
By keeping your compass set to the widest gap between the stone or wood edge and the drywall, you can physically map the wall’s imperfections onto the material. This line represents exactly where you need to remove excess material to achieve a perfect match.
When you prepare to scribe, ensure the countertop is level and properly supported before you begin marking. If the top moves while you are tracing, your line will be inaccurate, leading to a gap that is impossible to fix without starting over.
Use a high-quality carpenter’s pencil or a fine-tip scribe tool to ensure the line is precise. Once marked, you will use specific power tools to remove the waste material up to that line, effectively contouring the edge to the wall’s unique shape.
Essential Tools for Precision Cutting
You cannot achieve a professional finish without the right equipment for removing material. For stone or quartz vanity tops, a variable-speed angle grinder equipped with a diamond blade is the standard tool of choice.
If you are working with wood or laminate, a jigsaw with a fine-tooth blade or a belt sander works best for removing larger amounts of material. Having a set of files or a sanding block on hand is also vital for the final refinement stage.
| Material Type | Primary Cutting Tool | Refining Tool |
|---|---|---|
| Natural Stone/Quartz | Diamond Blade Grinder | Diamond Hand Pad |
| Solid Wood/Butcher Block | Jigsaw | Belt Sander |
| Laminate/Particle Board | Fine-tooth Jigsaw | Orbital Sander |
| Engineered Surface | Oscillating Multi-tool | File/Rasp |
Each tool requires a different level of control and caution. For instance, a diamond blade can easily chip stone if you move too quickly, so take your time and use light pressure.
A belt sander is highly aggressive, meaning you should stop just short of your line and finish the last sixteenth of an inch by hand. Using the right tool for the job significantly reduces the risk of damaging the expensive countertop surface.
Measuring and Marking the Profile
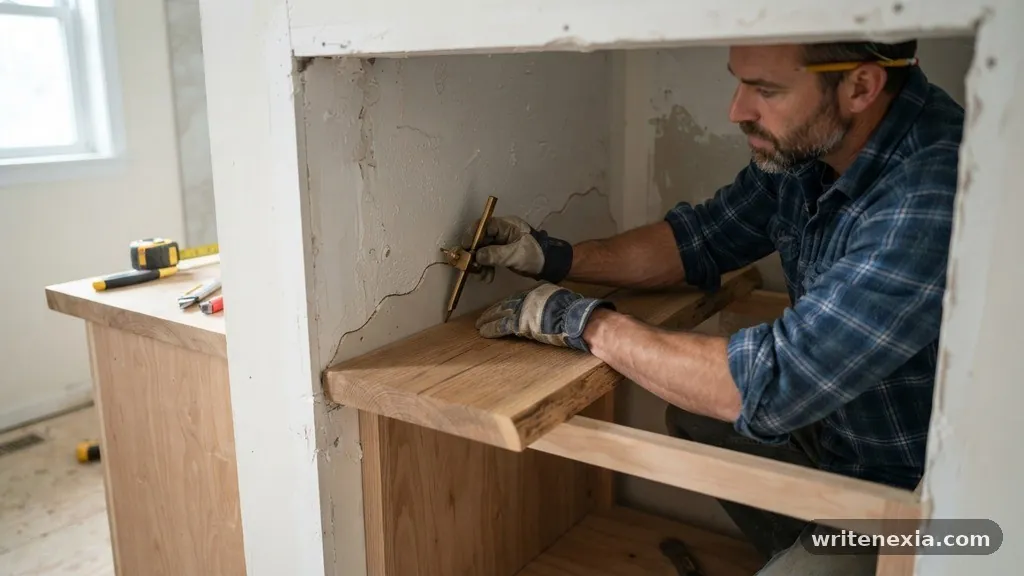
Before you cut, you must confirm the countertop is square relative to the front of the vanity cabinet. Use a framing square to check the front edge of the vanity against the side walls of the alcove.
If the walls are significantly out of square, you might need to adjust the vanity cabinet position first. Marking the wall profile requires a steady hand and a clear view of the gap at every point along the back edge.
When using the compass, keep it perfectly perpendicular to the wall surface at all times. If you tilt the compass, you change the effective distance, which ruins the accuracy of the line you are creating.
It is often helpful to have a second person hold the countertop firmly in place while you mark the entire length. If you are working alone, use wood shims or clamps to lock the piece into position before you start the marking process.
Removing Material Safely
Once you have your line marked, the material removal phase begins. For heavy stone tops, you should ideally move the piece to a stable workbench where you can control the angle of your grinder.
If the piece is too heavy to move, you will need to perform the work in place, which requires careful dust management. Use a shop vacuum with a HEPA filter to catch debris immediately as you grind or sand.
Always cut slightly to the “waste” side of your pencil line. You can always remove more material, but you cannot add it back if you cut too deep.
Start with a coarse grit or blade to remove the bulk of the material, then switch to a finer grit to approach the final line. Check the fit against the wall frequently during this process to avoid over-shooting your mark.
Refining the Edge Fit
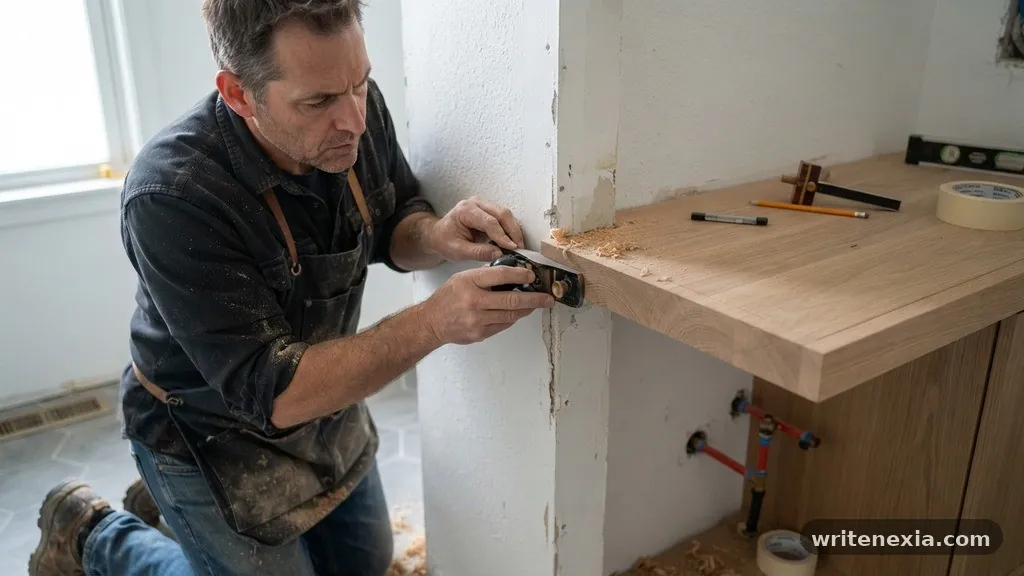
The final fit is achieved through slow, deliberate refinement of the edge. After your initial cuts, place the countertop back into the alcove to see where it still makes contact with the wall.
If you notice a high spot that prevents the top from sliding all the way back, mark that area with a pencil. Remove the piece, sand that specific spot down, and test the fit again.
This iterative process of “cut, test, adjust” is the hallmark of professional craftsmanship. Do not try to achieve the perfect fit in a single pass, as this usually leads to mistakes.
Instead, accept that you will need to perform three or four small adjustments to get the edge tight against the drywall. This patience ensures that your final installation looks like it was custom-made for the space.
Handling Out-of-Square Walls
Walls are rarely perfectly vertical, and this is where many DIY projects encounter trouble. If your wall leans inward or outward, your countertop edge will not just be curved; it will be beveled.
You must account for this by angling your grinder or sander to match the slope of the wall. Failing to bevel the edge will result in a gap at either the top or the bottom of the countertop edge.
Check the wall angle using a level or an angle gauge before you start cutting. If the wall is out of plumb by an eighth of an inch over the height of the backsplash, you must angle your tool accordingly.
This level of detail makes the difference between a visible gap and a seamless, professional installation. Taking the time to observe the wall’s geometry saves you from having to use excessive amounts of caulk later.
Managing Dust and Debris
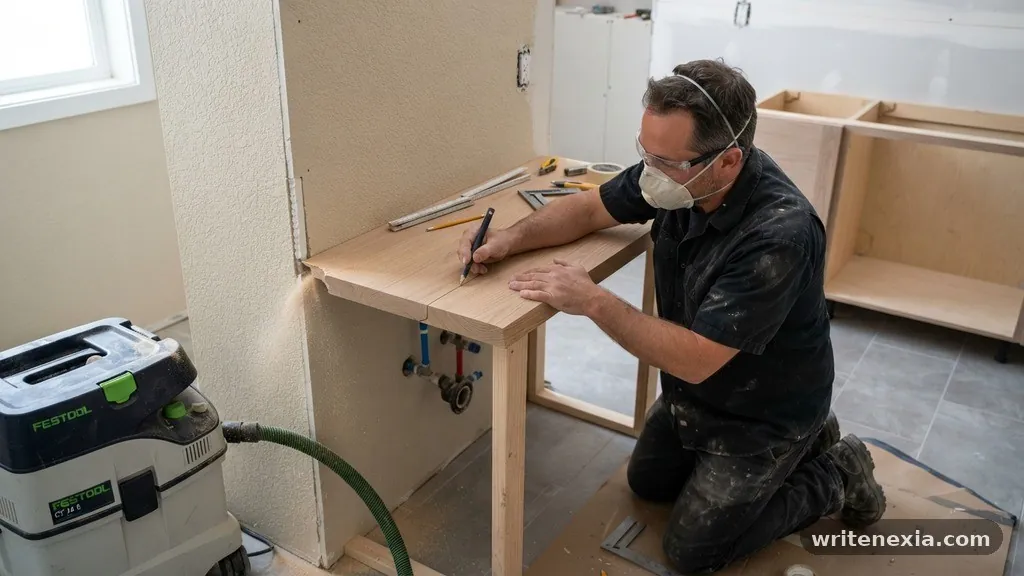
Cutting stone or composite materials creates a significant amount of fine dust that can permeate your home. Always use a wet-cutting method if your equipment allows, as water suppresses dust and keeps the blade cool.
If you must cut dry, ensure you are wearing a high-quality respirator and using a dust shroud on your grinder. Protecting your lungs and keeping the work area clean are non-negotiable parts of the job.
Consider setting up a temporary plastic partition if you are working inside a finished bathroom. This prevents dust from settling on fixtures, towels, and other surfaces that are difficult to clean.
If you are working with wood, the dust is easier to manage, but it can still be a nuisance. Clear your workspace periodically to maintain a safe environment where you can see your lines clearly.
Final Installation Steps
After you have achieved a satisfactory fit, clean the back edge and the wall thoroughly to remove any grit or dust. Apply a thin bead of high-quality silicone sealant along the wall to provide a flexible, waterproof barrier.
If your fit is truly tight, you may only need a very small amount of caulk, which looks much cleaner than a thick, messy bead. Press the countertop into place and check that it is level from front to back and left to right.
Secure the top to the vanity cabinet according to the manufacturer’s instructions. Most stone tops are secured with small dabs of silicone at the corners rather than mechanical fasteners.
Once the sealant cures, the countertop will be firmly in place and ready for sink and faucet installation. Verify the plumbing connections one last time before you fully commit to the final seal.
- Use a high-quality compass for marking the wall profile.
- Always cut on the waste side of your line to allow for refinement.
- Verify the angle of the wall to ensure your cut is beveled correctly.
- Work in small, iterative steps to avoid over-cutting the material.
- Use a shop vacuum or wet-cutting method to manage dust effectively.
- Apply a thin, consistent bead of silicone for the final moisture seal.
Common Challenges During the Process
One of the most common issues is underestimating how much material needs to be removed. If you find yourself struggling to get the top to move, don’t force it, as you could crack the vanity cabinet or the stone itself.
Take the piece out and re-evaluate where the binding is occurring. Often, a single small protrusion in the drywall is the culprit, and removing that one spot solves the entire problem.
Another challenge involves dealing with decorative trim or baseboards that interfere with the countertop. You may need to notch the countertop to accommodate these features or remove the trim and reinstall it after the countertop is set.
Plan for these obstacles before you start cutting. Having a clear plan for every edge of the countertop ensures you don’t encounter unexpected delays during the final assembly.
FAQ Section
How do I know if my wall is out of square?
You can check for square by placing a long straight-edge or level against the wall and measuring the distance to a reference point, such as the front edge of your vanity. If the distance changes as you move along the wall, the wall is either bowed or out of plumb. A framing square placed in the corner where the wall meets the vanity will also quickly reveal if the angle is not a perfect 90 degrees.
Can I use caulk to fill a large gap?
While caulk is designed to seal joints, it is not meant to fill large structural gaps. A gap wider than a quarter-inch will look unprofessional and is prone to cracking as the house settles. It is far better to scribe the countertop to ensure a tight fit and then use a minimal amount of color-matched silicone caulk for a clean, finished appearance.
What if I accidentally cut too much material off?
If you cut too deep, you have a few options depending on the material. For wood, you can glue on a small filler strip, sand it flush, and refinish the edge. For stone or quartz, you may need to shift the entire countertop over to hide the gap on one side, or in extreme cases, use a specialized stone epoxy that matches the color of your countertop to fill the void.
Is it better to cut the drywall or the countertop?
It is almost always better to scribe the countertop rather than cutting into the drywall. Cutting the drywall can damage the structural integrity of the wall, expose studs, and create a much larger mess that requires patching, taping, and painting. Scribing the countertop is a cleaner, more controlled process that leaves the wall finish intact.
How long should I expect this to take?
For a standard vanity alcove, expect to spend anywhere from two to four hours on the scribing and fitting process. If the walls are severely out of square or if you are working with a difficult material like dense granite, it may take longer. Rushing the process is the primary cause of errors, so budget extra time to ensure you get the fit right the first time.
Conclusion
Achieving a precise fit when scribing a vanity countertop to fit out-of-square alcove drywall requires patience, the right tools, and an attention to detail that sets your work apart. By mapping the wall’s unique contours and removing material in small, calculated stages, you transform a potentially frustrating installation into a rewarding project. Remember that every wall has its own character, and taking the time to match that character ensures a lasting, high-quality result.
If you find yourself stuck, step back and re-measure your reference points before making another cut. Consistent progress and careful tool management will help you reach that professional finish you are aiming for.
When you are ready to start, take your time, keep your workspace clean, and enjoy the satisfaction of a job done correctly. Your efforts will result in a beautiful bathroom space that stands the test of time.