

BLOG
How to Fill Large Gaps Between Uneven Bathroom Walls and Vanity Top
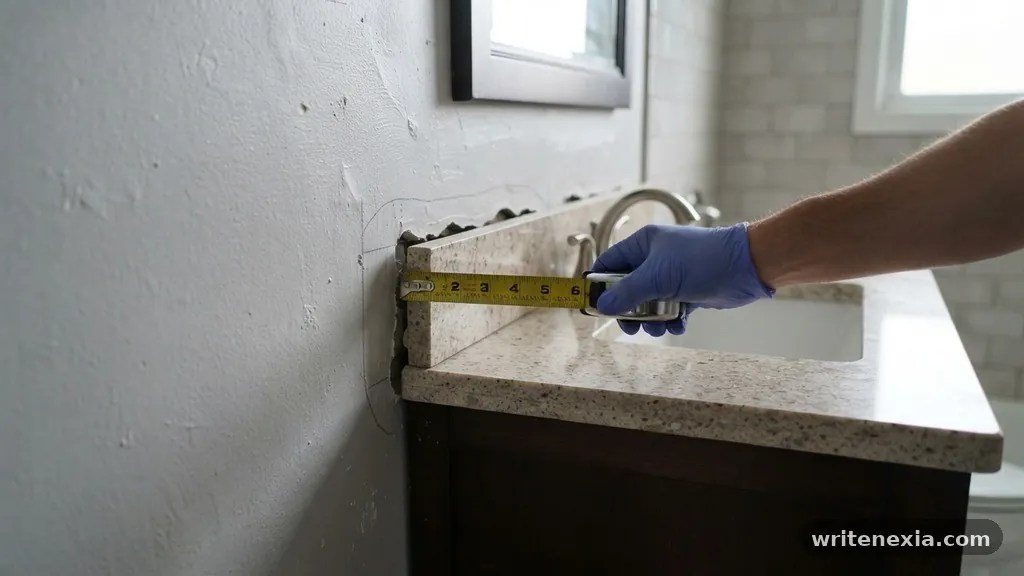
When you are installing a new cabinet, you often find that the wall is not perfectly square. Dealing with filling Large Gaps Between Uneven Bathroom Walls and Vanity Top is a common frustration for DIY renovators and contractors alike. You might notice a wedge-shaped opening that starts at nothing near the floor and grows to an inch or more at the top.
Leaving this void exposed invites water damage and creates an eyesore where hair and debris collect. Choosing the right method depends on the size of the opening and your desired aesthetic. This article provides practical solutions to bridge these spaces effectively while maintaining a professional finish in your bathroom.
Assess the Size of the Gap
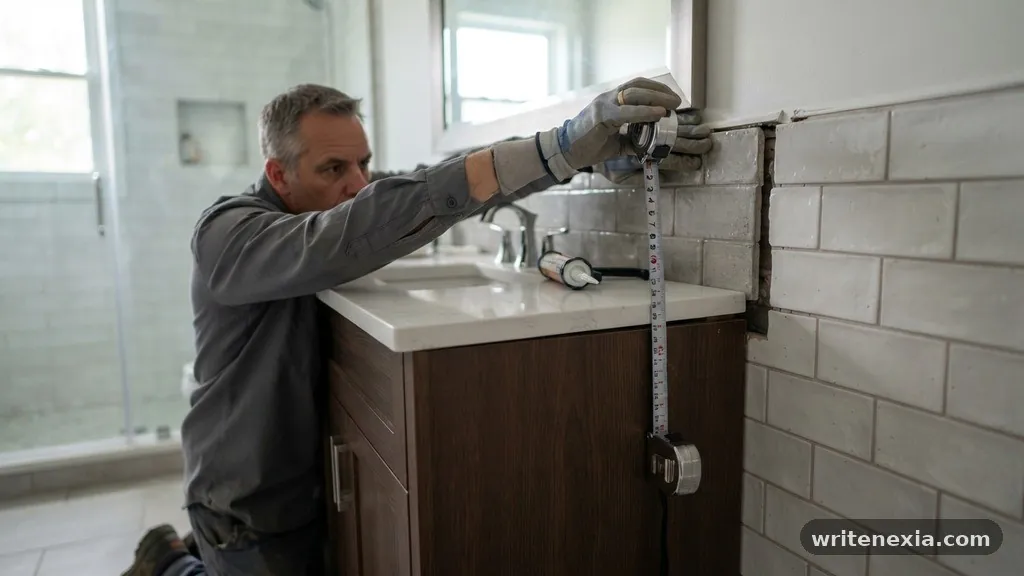
Before you commit to a specific repair method, you must measure the distance between your countertop and the wall at its widest point. Standard silicone caulk is designed to bridge gaps no larger than 1/4 inch. If your opening exceeds this, the sealant will likely sag, crack, or fail to bond properly over time.
A gap between 1/4 inch and 1/2 inch often requires a backer rod to provide a stable foundation for the sealant. Anything wider than 1/2 inch usually demands a physical piece of material, such as a filler strip or molding, to bridge the divide successfully.
Taking accurate measurements ensures you do not waste time on a solution that will not last. Use a tape measure to check the distance at the top, middle, and bottom of the vanity edge. Because walls are rarely perfectly plumb, the gap might vary significantly along the height of the cabinet.
Mark the widest section with a pencil so you know exactly how much material you need to cover. If the wall is severely bowed, you might need to scribe your filler strip to match the wall’s unique contour.
Using Backer Rod for Medium Gaps
A backer rod is a flexible, cylindrical piece of foam that acts as a gap filler for medium-sized openings. It prevents the caulk from sinking into the void, allowing you to create a clean, professional bead. You can find these in various diameters at most hardware stores.
Choose a rod that is slightly larger than the gap so that it stays firmly in place once inserted. Press the rod into the space using a putty knife, ensuring it sits about 1/8 inch below the surface of the countertop.
Once the backer rod is securely in place, you can apply your silicone sealant over it. The rod provides a solid backing that allows the caulk to bridge the gap without sagging into the wall cavity. This technique creates a waterproof seal that prevents moisture from leaking behind the vanity cabinet.
It is an ideal method for gaps that are too large for caulk alone but too small to justify installing heavy wood trim. Make sure the area is completely dry and free of dust before you begin the application process.
Installing Custom Filler Strips
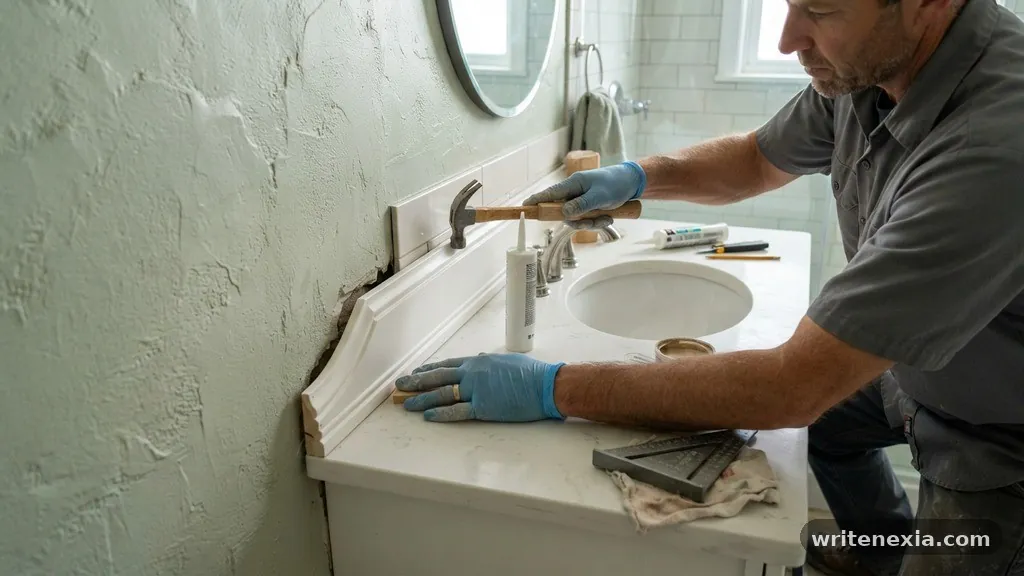
When the distance between the cabinet and the wall is substantial, a custom filler strip is often the most durable solution. These are typically thin pieces of wood or PVC that match the finish of your vanity or the surrounding wall.
You cut the strip to the required length and width, then attach it to the side of the cabinet before the vanity is finalized. This effectively extends the cabinet profile to meet the wall, hiding the structural irregularity of the room.
To install a filler strip, you must first measure the widest part of the gap. Rip your piece of wood or PVC to that width, then scribe it to the wall if the surface is wavy or uneven. You can secure the strip to the cabinet frame using wood glue and finish nails or pocket screws from the inside of the cabinet.
Once attached, use a bead of white or color-matched caulk to seal the seam between the filler strip and the wall. This creates a finished look that appears as if the vanity was custom-built for that specific space.
Applying Decorative Molding
Decorative molding is an excellent way to mask a gap while adding a touch of style to your bathroom. You can choose from various profiles, such as quarter-round, cove, or flat baseboard trim, depending on your design preference.
For a bathroom setting, it is vital to use moisture-resistant materials like PVC or primed composite wood. Avoid raw pine or MDF, as these will swell and rot when exposed to the high humidity typical of a shower area.
Measure the length of your vanity side and cut the molding to fit precisely. You can attach the molding to the cabinet edge using a high-quality construction adhesive or small brad nails. If you are using nails, ensure you countersink the heads and fill them with wood putty before painting.
Once the molding is attached, apply a thin bead of silicone sealant along the joint where it meets the wall. This prevents water from seeping behind the trim and causing long-term damage to the wall substrate.
Choosing the Right Sealant
Not all sealants are created equal, and choosing the right one is critical for a bathroom environment. You should always opt for 100% silicone sealant rather than acrylic latex caulk. Silicone is inherently waterproof, flexible, and resistant to mold and mildew growth.
While it is more difficult to clean up than water-based products, its performance in high-moisture areas is unmatched. Look for products labeled specifically for kitchen and bath use to ensure they contain biocides that inhibit fungal growth.
When applying the sealant, use painter’s tape on both the wall and the vanity top to ensure a crisp line. Apply a steady, even bead of silicone into the gap, moving the caulk gun at a consistent speed. Use a specialized caulk smoothing tool or a gloved finger dipped in soapy water to profile the bead.
Remove the painter’s tape immediately after smoothing while the sealant is still wet. This prevents the skin of the caulk from tearing as you pull the tape away, leaving you with a clean, professional edge.
Comparing Common Gap Solutions
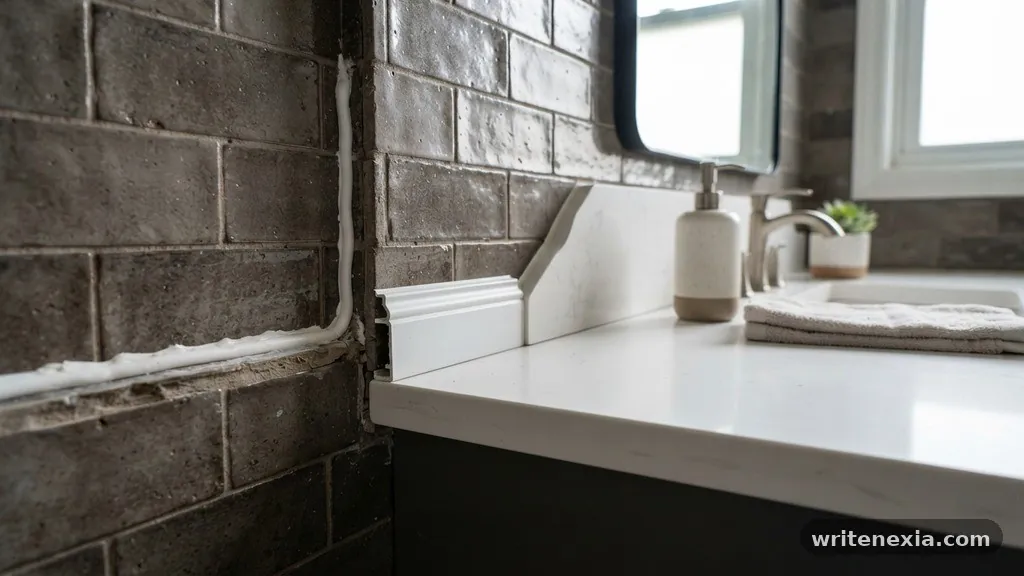
Different situations call for different materials. The following table provides a quick reference to help you decide which method fits your specific gap size.
| Gap Size | Recommended Solution | Difficulty Level |
|---|---|---|
| Under 1/8 inch | Silicone sealant alone | Easy |
| 1/8 to 1/4 inch | Backer rod + silicone | Moderate |
| 1/4 to 1 inch | PVC or wood filler strip | Intermediate |
| Over 1 inch | Custom trim or cabinet extension | Professional |
Preparing the Surface for Adhesion
Proper surface preparation is the most important factor in the longevity of your repair. If the wall is covered in latex paint, ensure it is clean and dry. Use a degreaser or rubbing alcohol to wipe down the area where the caulk or adhesive will sit.
Any residual soap scum, dust, or oils will prevent the sealant from creating a permanent bond. If you are applying a filler strip, sand the cabinet side lightly to help the construction adhesive grip the surface.
If there is old, moldy caulk present, you must remove it entirely before starting. Use a sharp utility knife or a dedicated caulk removal tool to scrape away the old material. Do not try to apply new sealant over old, failing layers, as the new product will simply peel away.
Once the surface is clean, allow it to dry for several hours before applying any new materials. If you are working in a humid climate, use a hair dryer to ensure the wall substrate is bone dry.
Common Mistakes to Avoid
Many DIYers make the mistake of using too much caulk to fill a large hole. This leads to a messy, bulbous appearance that is difficult to smooth and prone to collecting grime. If the gap is wider than a pencil, do not attempt to fill it only with sealant.
You will end up with a sagging, unsightly mess that eventually cracks as the building settles. Always use a physical bridge like a backer rod or trim piece for anything wider than a quarter-inch.
Another frequent error is failing to allow enough time for the sealant to cure. While many products feel dry to the touch within an hour, they often require 24 hours to cure completely. Exposing the area to water or steam too soon can compromise the integrity of the seal.
Always check the manufacturer’s label for specific drying times. Finally, avoid using silicone on surfaces that you intend to paint later, as silicone resists paint and will create a blotchy, uneven finish.
Tools You Will Need
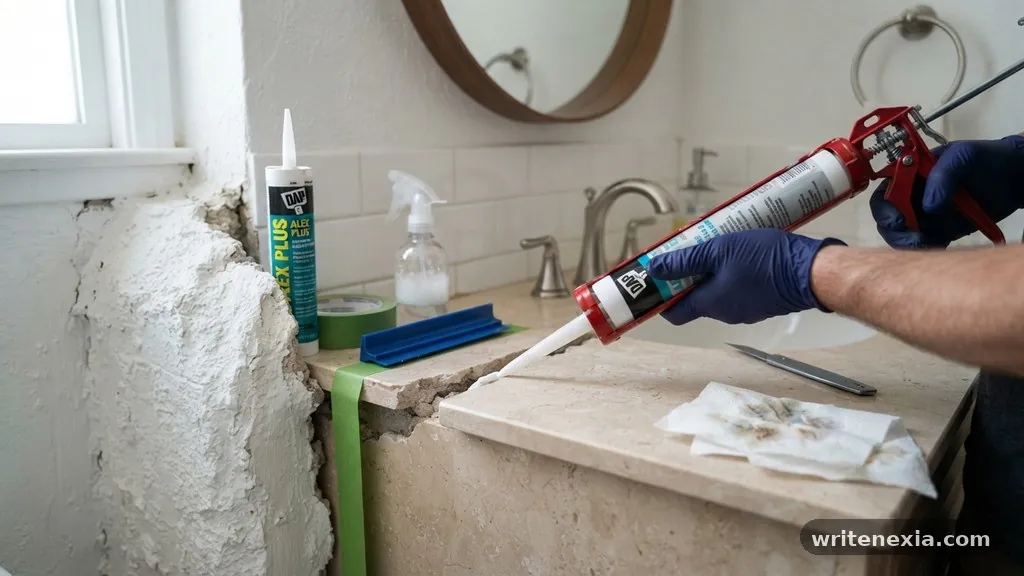
Having the right equipment on hand makes the process significantly smoother. You do not need expensive power tools, but a few basics are essential for a professional finish.
- Caulk gun for consistent application
- Utility knife with spare blades for trimming
- Painter’s tape for clean, sharp lines
- Putty knife for pressing in backer rods
- Silicone smoothing tool or plastic spreader
- Rubbing alcohol for cleaning the surface
- Measuring tape and pencil for marking cuts
Scribing for a Perfect Fit
When your wall is wavy, a straight piece of wood trim will leave gaps behind it. You must “scribe” the trim to match the wall’s contour to achieve a seamless look. Hold your filler strip against the wall in its intended position.
Use a compass or a simple block of wood with a pencil to trace the shape of the wall onto the filler strip. Cut along this line with a jigsaw or coping saw, then test the fit.
This process may take several attempts, but it is the hallmark of high-quality craftsmanship. Once the strip fits the wall’s curve, it will look like it was meant to be there. After the strip is secured, you only need a very thin bead of caulk to seal the microscopic remaining space.
This method is far superior to trying to fill a large, irregular gap with buckets of caulk. It provides a permanent, solid finish that will not crack over time.
When to Call a Professional
Sometimes, the gap between the vanity and the wall is indicative of a larger structural issue. If your vanity is pulling away from the wall because the floor is sagging or the wall studs are compromised, simply filling the gap is not enough.
You may need to address the underlying cause by shimming the cabinet from underneath or reinforcing the wall framing. If you notice large cracks appearing in the drywall or if the vanity appears to be leaning, consult a carpenter or a general contractor.
Professional help is also recommended if you are dealing with expensive stone or marble countertops. Cutting stone to fit an uneven wall is a precise task that requires specialized diamond-tipped blades and experience.
If you are not comfortable making these cuts, it is safer to hire a countertop fabricator. They can often create a custom splash or side panel that perfectly matches your stone, providing a much higher-end finish than DIY trim methods.
Frequently Asked Questions
Can I just use more caulk for a large gap?
No, using excess caulk is a common mistake. If the gap is larger than 1/4 inch, the sealant will likely sag, crack, or fail to adhere properly. Always use a backer rod or a physical filler strip for gaps wider than this to ensure a long-lasting, professional result.
What is the best way to clean up excess silicone?
You should remove excess silicone while it is still wet using a smoothing tool or a gloved finger. If the silicone has already dried, use a plastic scraper to carefully lift the edges and peel it away. Avoid using metal scrapers, as they can scratch your vanity or wall surfaces.
Is it necessary to use a backer rod?
A backer rod is highly recommended for gaps between 1/4 and 1/2 inch. It provides a solid foundation for the sealant, preventing it from sinking into the wall void. This ensures your caulk bead remains uniform and flexible, which is essential for a waterproof seal.
Can I paint over silicone caulk?
You generally cannot paint over silicone. The material is designed to repel moisture and other substances, which means paint will not adhere to it. If you need a paintable gap filler, look for a high-quality acrylic latex caulk, though keep in mind it is less waterproof than silicone.
How do I know if the gap is caused by a structural issue?
If the gap is growing over time, or if you see cracks forming in the drywall above the vanity, it may indicate that your floor joists are sagging or the wall is shifting. In these cases, it is best to have a professional evaluate the structural integrity of the area before attempting a cosmetic fix.
Final Thoughts
Bridging the space between your vanity and the wall is a manageable task if you choose the right approach for the size of the opening. Whether you use a simple backer rod for minor imperfections or a custom-fit filler strip for larger voids, the goal is always to create a moisture-proof seal. By taking the time to measure accurately and prepare your surfaces, you can achieve a professional look that protects your bathroom from water damage.
Do not settle for messy, cracked caulk beads that will only require repair later. Take the initiative to address the issue properly, and you will enjoy a clean, finished bathroom aesthetic for years to come. If you find the work challenging, remember that even small, careful improvements make a significant difference in the final result.
Related Posts
Why Is Water Pooling Around the Faucet Base on Your New Vanity Top?
-
Posted by
snighatfatima99@gmail.com
Should You Caulk or Grout the Seam Between Vanity Top and Tile?
-
Posted by