

BLOG
Why Is Water Pooling Around the Faucet Base on Your New Vanity Top?
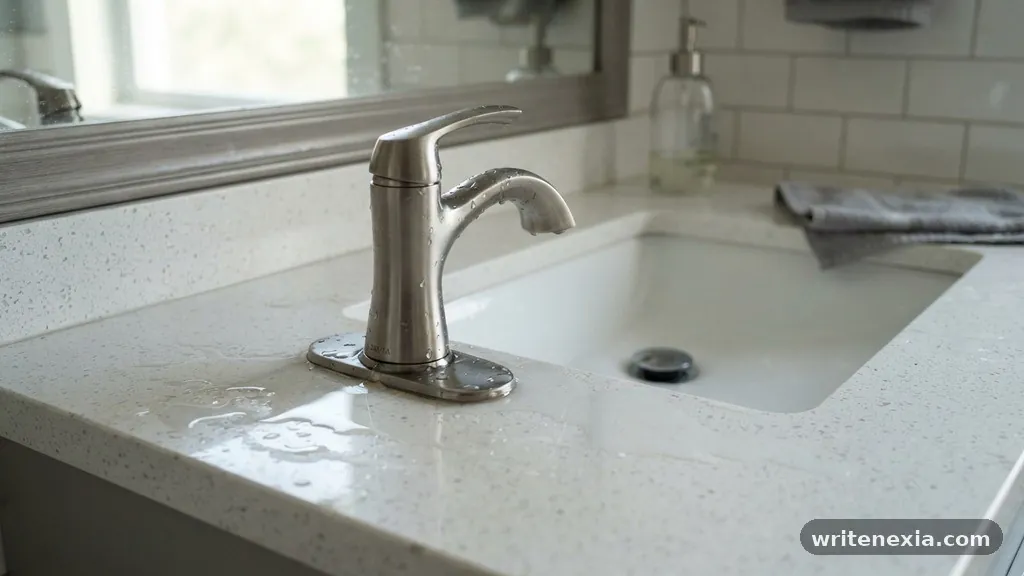
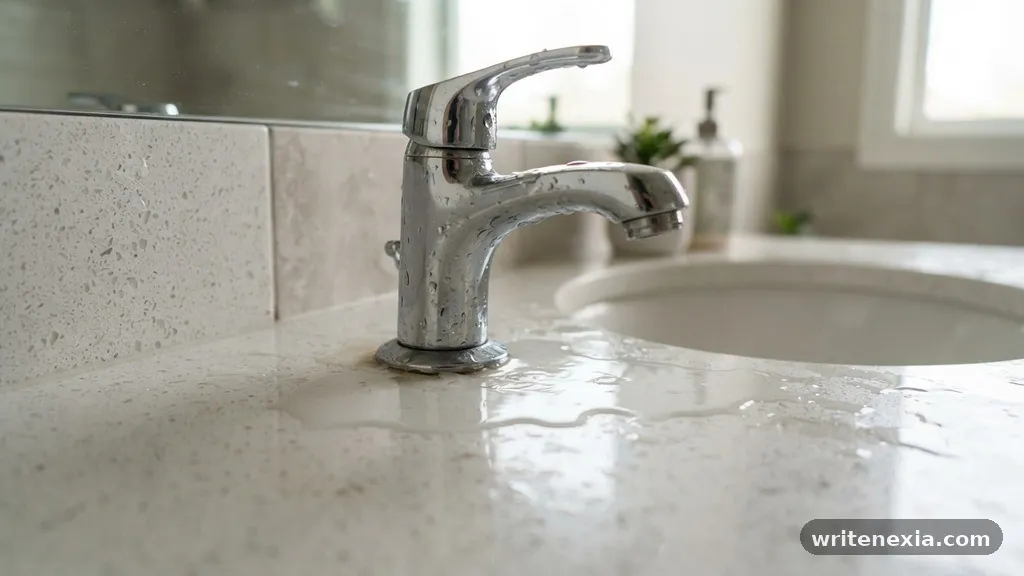
Discovering water pooling around the faucet base on your new vanity top is a frustrating experience that often signals a simple installation oversight or a minor component failure. While a brand-new fixture should theoretically be watertight, small gaps in the mounting seal or loose connections can lead to moisture accumulation that threatens your countertop finish.
Understanding why this happens allows you to address the issue before it causes permanent water damage to your cabinetry or vanity material. This article explores the common mechanical culprits behind these leaks and provides practical, step-by-step solutions to ensure your bathroom faucet remains dry and functional for years to come.
Immediate Causes of Leaks at the Faucet Base
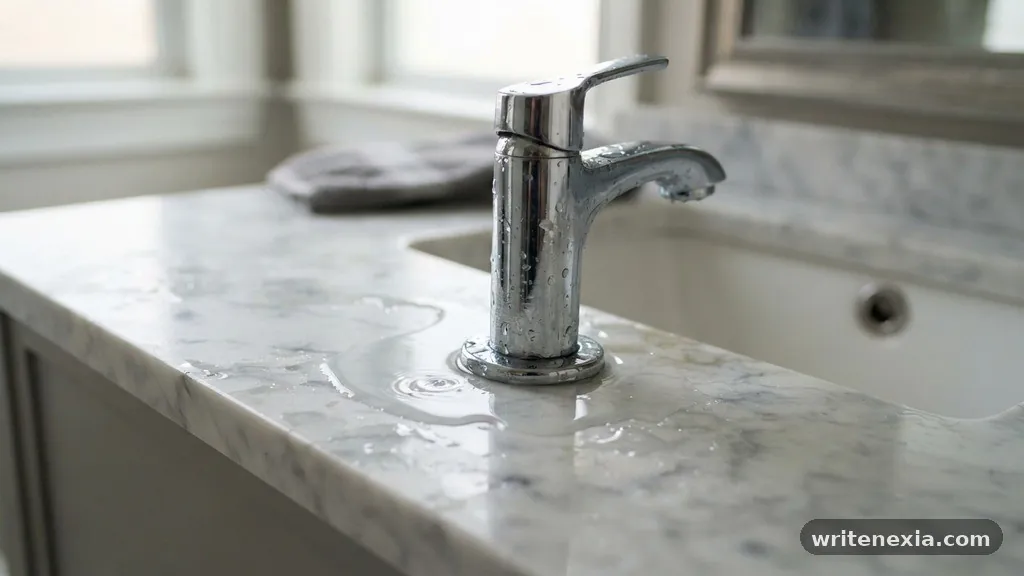
The most frequent reason for water pooling around the faucet base on your new vanity top is a compromised gasket or an improperly tightened mounting nut. When a faucet is installed, a rubber or plastic gasket is intended to sit between the metal base and the countertop surface.
If this gasket is misaligned or pinched during installation, it creates a direct channel for water to seep through the hole. Even a tiny misalignment can allow capillary action to draw water from the deck onto the vanity surface.
Another common culprit is the failure to use plumber’s putty or silicone sealant where the manufacturer requires it. Some modern faucets rely strictly on integrated rubber gaskets, but many still necessitate a bead of waterproof silicone to bridge gaps in uneven stone or laminate counters.
If the installer skipped this step, water splashing near the handle or spout can easily find its way underneath the base. Once water is trapped under the decorative plate, it often sits there until it eventually migrates outward, creating the appearance of a persistent leak.
Loose mounting hardware is also a major factor that homeowners often overlook. Over time, or due to insufficient tightening during the initial build, the nuts holding the faucet to the vanity can back off slightly.
This vibration and lack of tension break the seal between the gasket and the sink deck. If you can wiggle the faucet base even slightly with your hand, the mounting hardware is almost certainly loose and requires immediate adjustment to stop the water ingress.
Checking the Internal Cartridge and O-Rings
If the mounting hardware is tight and the gasket is properly seated, the leak may originate from the internal components of the faucet itself. A faulty cartridge or worn-out o-rings often cause water to leak internally and drip down the faucet shank into the cabinet or onto the top.
This is particularly common in high-end units where a manufacturing defect in the cartridge seal might not show up until the faucet has been under pressure for a few days. If you notice water around the handle area, it is a strong indicator that the internal seal is the primary failure point.
When the internal cartridge fails, water may bypass the valve seat and travel down the stem of the faucet body. Because the faucet body is hollow, this water eventually exits at the bottom where the assembly meets the countertop.
To determine if this is the cause, dry the area completely and wrap a paper towel around the base of the handle. If the paper towel becomes wet while the faucet is turned on, the leak is internal and you likely need to replace the cartridge rather than resealing the base.
O-rings located within the faucet body also serve as critical barriers against water migration. These rubber loops degrade over time, but on a brand-new vanity setup, they might be defective or improperly lubricated from the factory.
If you have a Moen or similar brand, these parts are often modular and designed for easy servicing. Replacing a faulty cartridge or set of o-rings is usually a straightforward task that doesn’t require professional plumbing services, provided you have the correct manufacturer-specific parts.
Comparing Potential Leak Sources
Identifying the specific source of water pooling requires a systematic approach to elimination. The following table outlines how different symptoms point to specific mechanical failures, helping you narrow down the repair process.
| Symptom | Likely Cause | Recommended Action |
|---|---|---|
| Water appears only when the handle is moved | Handle O-ring or cartridge failure | Replace the internal cartridge |
| Water pools after washing hands | Inadequate base gasket seal | Apply silicone sealant under base |
| Faucet base wiggles slightly | Loose mounting nut | Tighten hardware underneath |
| Constant drip from the spout | Damaged aerator or valve seat | Clean aerator or replace valve |
The Role of the Aerator and Spout
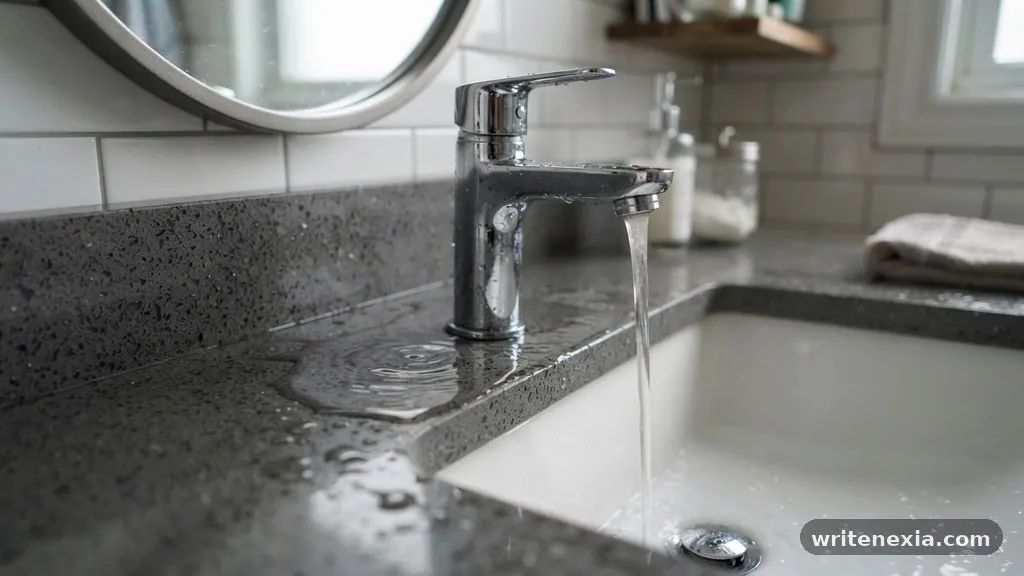
Sometimes, the water isn’t actually leaking from the base at all, but rather being directed there by a malfunctioning aerator. If the aerator is clogged with debris from the new plumbing lines, it can cause the water stream to spray or flow unevenly.
This erratic flow often hits the edge of the sink or the handles, splashing water onto the countertop. When this happens, it looks exactly like a base leak because the water naturally flows toward the lowest point, which is the intersection of the faucet and the vanity top.
Checking the aerator is the simplest diagnostic step you can take. Unscrew the aerator from the end of the spout and inspect it for mineral buildup or construction debris. If you find debris, flush the faucet without the aerator attached for a few seconds to clear the lines.
After cleaning or replacing the aerator, observe the water flow to see if the erratic splashing stops. This simple maintenance task solves a surprising number of “leak” complaints that are actually just issues with water trajectory.
Addressing Loose Mounting Hardware
If you determine that the mounting hardware is the problem, you will need to access the underside of your vanity. This often involves clearing out storage space and using a basin wrench to reach the nuts securing the faucet shanks.
Ensure the faucet is perfectly centered before tightening the nuts, as any tilt can prevent the gasket from creating a uniform seal. Do not overtighten the nuts, as this can crack delicate stone or porcelain countertops, which would be a much costlier repair than a simple leak.
Once the nuts are snug, check the stability of the faucet from above. If the base remains firm and does not move under light pressure, the seal should be restored. If you still see water pooling, consider applying a thin, clear bead of bathroom-grade silicone around the perimeter of the base.
This acts as a secondary defense, preventing any surface water from finding its way into the mounting hole. Ensure the surface is completely dry and free of any dust before applying the silicone to guarantee proper adhesion.
When to Replace the Faucet
In some cases, the issue may stem from a manufacturing defect in the faucet casting itself. If you have tightened the hardware, replaced the cartridges, and applied sealant, yet water continues to appear, there may be a hairline fracture in the faucet body. This is rare, but it does occur in low-quality or damaged units.
If the faucet was purchased very recently, check the warranty information provided by the manufacturer. Most major brands offer replacements for units that fail within the first year of operation.
Before deciding to replace the entire fixture, document the issue with photographs and notes on your troubleshooting steps. This documentation is invaluable if you need to request a warranty claim or return the product to the store.
Replacing a faucet is a significant task, so ensure you have exhausted all other repair options before committing to a full replacement. If you do choose to replace it, look for models with solid brass construction to minimize the risk of future structural leaks.
Common Mistakes During Installation
Many homeowners inadvertently cause leaks by failing to follow the manufacturer’s installation manual exactly. Every faucet has specific requirements for the size of the mounting hole and the thickness of the deck.
If the hole is too large, the base plate may not cover the gap entirely, leaving a path for water. Furthermore, failing to use the provided rubber washers or spacers on the underside of the vanity is a common oversight that leaves the faucet unstable.
Another frequent error is the improper use of Teflon tape. While Teflon tape is essential for threaded pipe connections inside the wall, it should never be used on the connection between the faucet and the supply lines if they utilize rubber gaskets.
Over-applying tape can prevent the gasket from seating properly, leading to a slow drip at the connection point that eventually migrates to the vanity top. Stick to the manufacturer’s guidelines regarding thread sealant to ensure every joint is watertight.
Preventing Future Water Damage
Protecting your vanity top from water damage goes beyond fixing the faucet. Even a perfectly installed faucet can splash, and leaving standing water on a wood or stone vanity will eventually degrade the finish.
Always keep a small cloth nearby to wipe down the area around the faucet after use. This simple habit prevents moisture from sitting on the surface and finding its way into the seams of your vanity.
Consider applying a high-quality sealant to your stone or wood vanity top once or twice a year. This creates a hydrophobic barrier that causes water to bead up rather than soaking into the material.
If you have a marble or granite top, a professional-grade sealer will protect the stone from etching and staining caused by soap or hard water. Maintaining the vanity surface is just as important as maintaining the hardware attached to it.
Tools Required for Troubleshooting
Having the right tools on hand makes the job of diagnosing a leak much easier and safer for your fixtures. You do not need a professional-grade workshop to handle these repairs.
Most tasks can be completed with a standard toolkit that you likely already own. Here is a list of essential items to keep in your home for plumbing maintenance:
- Adjustable wrench for tightening nuts and supply lines.
- Basin wrench for accessing hard-to-reach mounting hardware under the sink.
- Silicone sealant for creating a waterproof barrier at the base.
- Flashlight or headlamp to see clearly inside the dark cabinet space.
- Paper towels to test for leaks and keep the workspace dry.
- Replacement cartridges or o-rings specific to your faucet brand.
Frequently Asked Questions
Why does my new faucet leak only when I turn it on?
If the leak only occurs while the water is running, it is likely an issue with the internal cartridge or a loose connection on the supply line. Check the cartridge for a faulty seal, as this is the most common cause of pressure-related leaks.
Can I use silicone on every faucet base?
While silicone is excellent for sealing gaps, check your faucet’s manual first. Some high-end fixtures are designed to drain water internally, and sealing them with silicone can trap water inside the body, causing premature corrosion.
How do I know if my faucet mounting nut is loose?
Place your hand on the faucet base and try to gently rotate it. If the entire unit moves or rocks, the mounting nut under the sink has likely loosened and needs to be tightened with a basin wrench.
Is it normal for a little water to stay under the base plate?
No, it is not normal. A properly installed faucet should have a watertight seal that prevents any water from getting under the base plate. Any water found there indicates that the seal is compromised.
What should I do if the leak is coming from inside the wall?
If the leak is originating from the supply lines behind the wall or in the floor of the vanity, shut off the water supply valves immediately. This type of leak requires professional attention to prevent significant structural damage to your home.
Conclusion
Dealing with water pooling around the faucet base on your new vanity top is a common annoyance, but it is usually manageable with a bit of patience and the right diagnostic approach. By checking your mounting hardware, verifying the integrity of the internal cartridge, and ensuring the base seal is watertight, you can stop the moisture from damaging your investment. Remember that the smallest gaps often lead to the biggest problems, so addressing these leaks early is the best way to preserve your bathroom’s appearance.
If you follow the steps outlined, you will likely find that your faucet is back to functioning perfectly without any persistent drips or puddles. Should the issue persist despite your best efforts, do not hesitate to contact a professional plumber to prevent long-term structural harm.
Related Posts
Should You Caulk or Grout the Seam Between Vanity Top and Tile?
-
Posted by
snighatfatima99@gmail.com
How to Fill Large Gaps Between Uneven Bathroom Walls and Vanity Top
-
Posted by