

BLOG
How to Re-Seal a Granite Vanity Top: Water Drop Test Explained
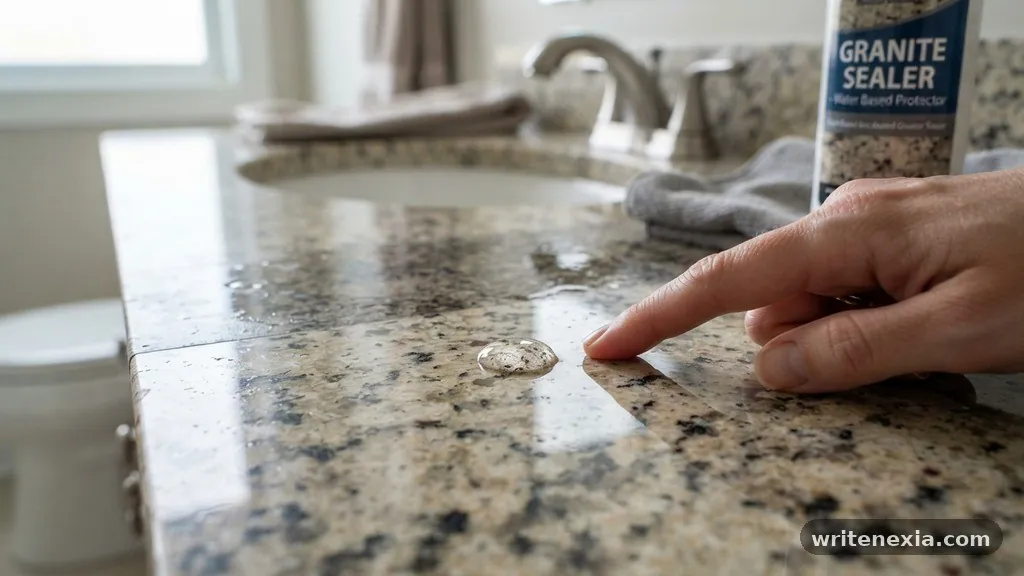
Re-sealing a granite vanity top is a fundamental maintenance task that preserves the beauty and longevity of your natural stone investment. If you notice water no longer beads up on the surface or if dark spots appear after contact with moisture, your stone is likely begging for a fresh layer of protection.
Performing a simple water drop test is the most reliable way to determine if your vanity requires immediate attention. By understanding the science behind surface porosity and the proper application of a high-quality sealant, you can prevent permanent stains and keep your bathroom looking pristine for years to come.
The Mechanics of the Water Drop Test
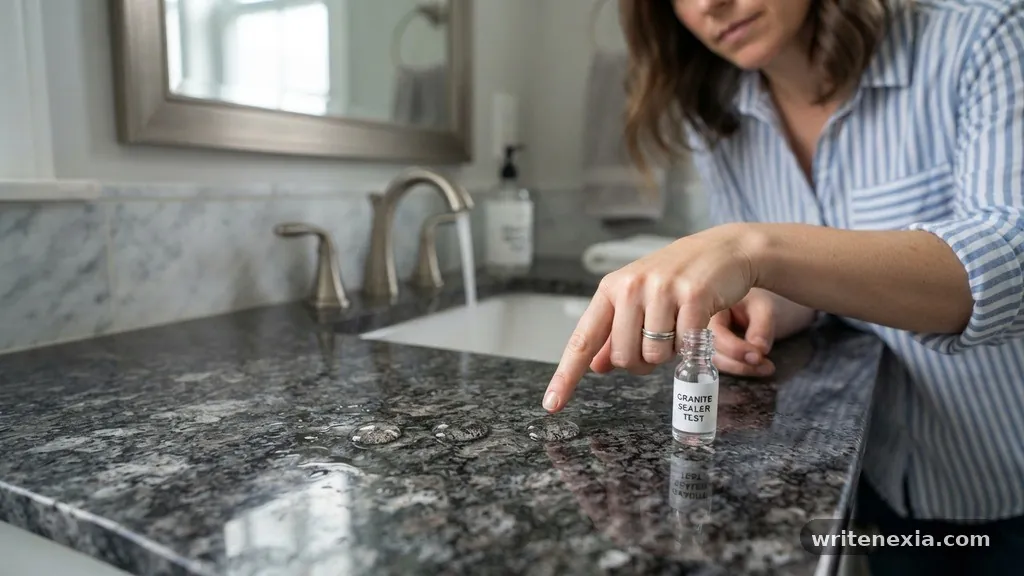
The water drop test is the industry-standard method for evaluating the current level of protection on your stone. To perform this, you must first ensure the vanity is completely clean and free of any soap residue, oils, or dust. Once the surface is dry, pour a small amount of water, roughly the size of a quarter, onto a few different areas of the granite.
Watch these droplets closely for 15 to 20 minutes to observe how the stone reacts to the liquid. If the water beads up clearly on the surface, your existing seal is still effective and does not require intervention.
However, if the water begins to soak into the stone and leaves behind a dark, wet mark, your sealant has worn thin. The depth of the color change indicates how porous the stone has become and how quickly it will absorb other liquids.
If the water disappears into the granite within a few minutes, your surface is highly absorbent and requires immediate resealing. This test is vital because it provides a visual confirmation of the stone’s permeability, which is invisible to the naked eye until damage occurs.
Why Granite Needs Regular Sealing
Granite is a natural stone formed under intense heat and pressure, resulting in a dense but porous crystalline structure. Because it is a product of nature, no two slabs are identical, and some varieties are naturally more porous than others.
These microscopic pores act like tiny tunnels that can pull liquids into the interior of the stone through capillary action. When oils, cosmetics, or cleaning products penetrate these pores, they can leave behind unsightly stains that are notoriously difficult to remove.
Sealing creates a protective barrier that occupies these pores, preventing foreign substances from entering the stone’s matrix. This process does not change the appearance of the granite but significantly increases its resistance to etching and staining.
Without this barrier, your vanity is susceptible to damage from everyday bathroom products like hairspray, toothpaste, and lotions. Regular maintenance ensures that these common household items sit on the surface where they can be wiped away safely.
Selecting the Right Penetrating Sealant
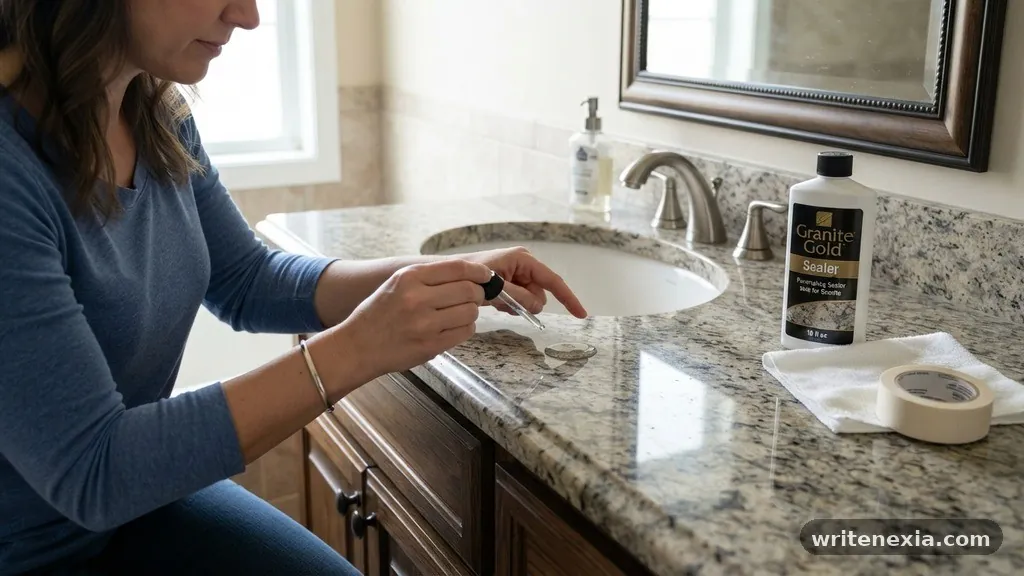
When you decide to proceed with re-sealing a granite vanity top, choosing the correct product is critical for success. You should look for a high-quality penetrating sealer designed specifically for natural stone surfaces.
Unlike topical coatings that sit on top and can peel or yellow over time, penetrating sealers sink deep into the stone’s pores. These products work by lining the internal channels of the granite with a hydrophobic material that repels water and oil-based liquids.
Always check the label to ensure the product is food-safe and suitable for indoor bathroom environments. Many modern sealers are water-based, which makes them easier to apply and less pungent than older solvent-based formulas.
Before applying it to the entire vanity, test the product on an inconspicuous area, such as the back corner near the wall. This allows you to verify that the sealer does not alter the color or finish of your specific granite variety.
Preparing the Surface for Application
Preparation is arguably the most important phase of the entire re-sealing process. If you apply a sealer over a dirty or greasy surface, you will trap contaminants inside the stone, potentially causing permanent discoloration.
Start by using a dedicated stone cleaner or a mild, pH-neutral soap mixed with warm water. Avoid using harsh household cleaners like vinegar, bleach, or ammonia, as these can strip away existing sealant and potentially etch the stone surface.
After washing the vanity thoroughly, rinse it with clean water to remove any soapy film. Dry the area completely with a clean, lint-free microfiber cloth to ensure no moisture remains in the pores.
If you have recently used the sink, allow the granite to sit for several hours to ensure it is bone-dry. Applying a sealer to a damp surface is a common mistake that prevents the product from penetrating the stone effectively.
The Step-by-Step Application Process
Once the surface is clean and dry, apply the sealant evenly across the granite vanity top. You can use a soft cloth, a specialized applicator, or a clean sponge to distribute the liquid.
Work in manageable sections to ensure the sealer doesn’t dry prematurely before it has a chance to soak in. The granite should look visibly wet, but avoid creating large puddles that could cause streaking.
Follow the manufacturer’s specific instructions regarding the dwell time, which is the period the liquid must remain on the surface to be effective. Most products require 5 to 15 minutes of contact time to fully penetrate the stone’s microscopic tunnels.
If the sealer seems to disappear instantly, apply another thin layer to that area, as it indicates a high level of porosity. Consistency during this stage ensures an even layer of protection across the entire vanity.
Removing Excess Sealant
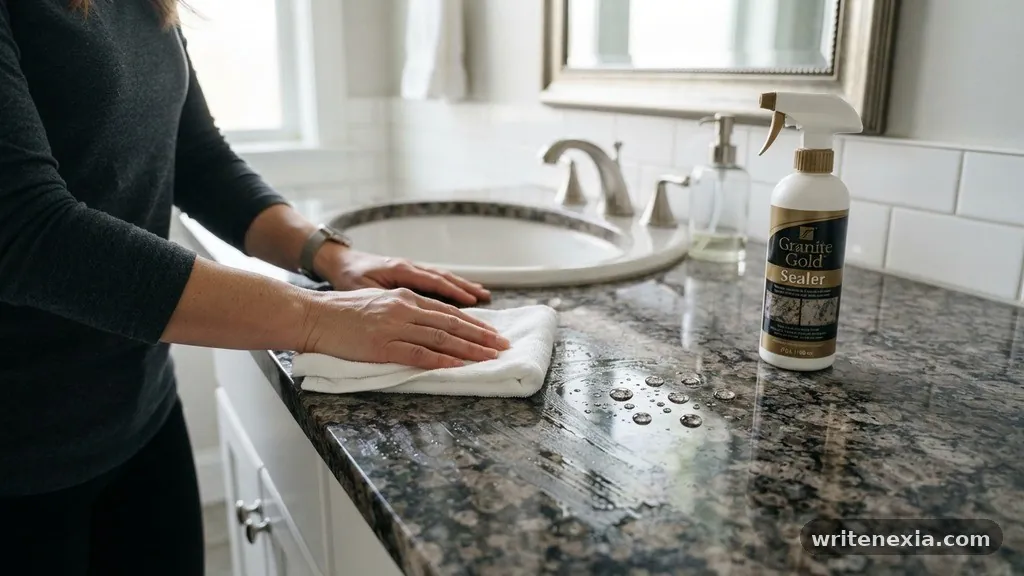
Removing the excess product is essential for achieving a streak-free, professional finish. After the recommended dwell time has passed, use a clean, dry microfiber cloth to buff the surface.
You want to wipe away any liquid that did not soak into the stone to prevent it from drying into a hazy residue. If the surface feels tacky or sticky, you likely left too much sealer on the top, so continue buffing until the granite feels smooth.
It is often helpful to use a second, fresh cloth for the final buffing pass to ensure no lingering product remains. If you notice a hazy film after the granite has completely dried, you can remove it by lightly misting the surface with a bit more sealer and immediately buffing it off.
This reactivates the excess product and allows you to wipe it clean. Proper removal is the final step in restoring the stone’s natural luster and protective barrier.
Comparing Maintenance Schedules
The frequency of re-sealing depends on the type of granite, the color, and the daily usage of the vanity. Lighter-colored stones are generally more porous than darker, denser varieties and may require more frequent maintenance. The table below provides a general guideline for how often you should evaluate your stone’s condition.
| Granite Type | Porosity Level | Typical Re-seal Frequency |
|---|---|---|
| Light-Colored Granite | High | Every 6 to 12 months |
| Dark-Colored Granite | Low | Every 18 to 24 months |
| Honed/Matte Finish | Moderate | Every 12 months |
| Polished Granite | Low | Every 18 to 36 months |
Common Mistakes to Avoid
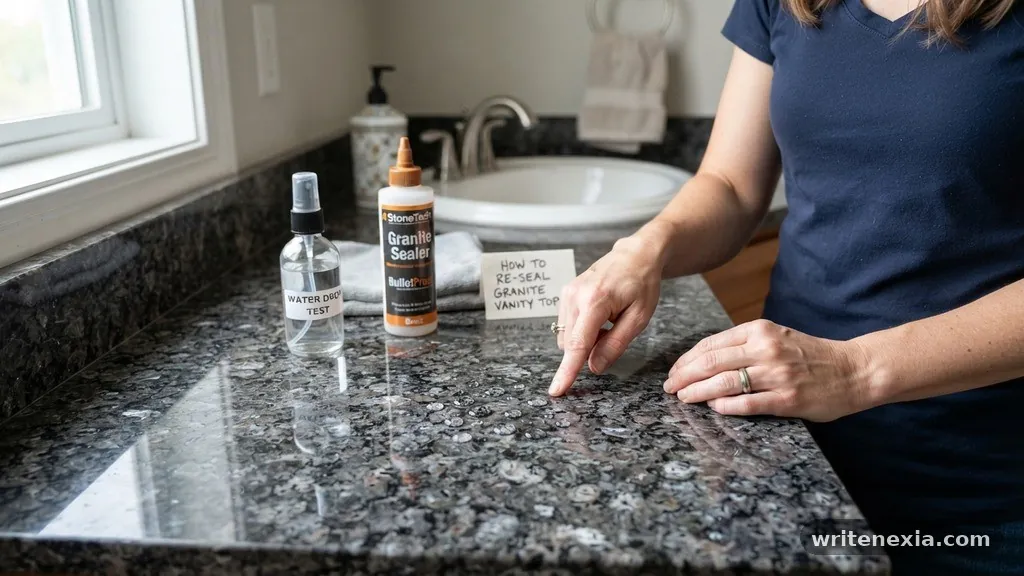
Many homeowners inadvertently damage their granite by using improper cleaning habits between sealing cycles. One of the most frequent errors is using acidic cleaners, which can quickly degrade the protective layer you worked so hard to apply.
Products containing lemon, lime, or citrus scents are often acidic and should be kept away from your stone vanity. Additionally, avoid scrubbing the surface with abrasive pads or steel wool, as these can create microscopic scratches that harbor dirt and moisture.
Another common mistake is neglecting the edges and backsplash of the vanity. These areas are just as porous as the flat top and are often subject to more water splashing from the faucet. When you perform your maintenance, ensure these vertical surfaces receive the same attention and care as the main countertop.
Finally, never assume that a “lifetime” sealer means you never have to worry about maintenance again. Even the best products break down over time due to exposure to chemicals and physical wear.
Recognizing When Your Stone Needs Help
Beyond the water drop test, there are several visual cues that your vanity is overdue for maintenance. If you notice that the stone looks dull or “thirsty,” it is a strong indicator that the protective barrier has faded.
Dark spots that appear after someone washes their hands and linger for a long time are a clear sign of absorption. These spots will eventually dry out, but they indicate that the stone is no longer repelling liquids as it should.
You might also observe water rings forming around soap dispensers or toothbrush holders. These rings are caused by moisture being trapped underneath the object, which slowly leaches into the stone.
If you see these marks, it is time to deep clean the surface and perform a fresh application of sealer. Keeping a close eye on these early warning signs will prevent small, manageable issues from turning into permanent, deep-set stains.
Essential Supplies for Maintenance
To handle the process of re-sealing a granite vanity top effectively, you should keep a small kit of supplies on hand. Having everything ready before you start ensures that you can follow the application steps without interruption. Below is a list of items that are generally necessary for a successful project.
- pH-neutral stone cleaner for pre-application cleaning.
- High-quality penetrating stone sealer suited for granite.
- Several clean, lint-free microfiber cloths for application and buffing.
- A soft-bristle brush or sponge for reaching tight corners.
- Protective gloves to prevent skin irritation from the chemical sealer.
- A small testing dropper or spray bottle for the water test.
Frequently Asked Questions
How can I tell if my granite vanity is sealed?
Perform the water drop test by placing a few small puddles of water on different parts of the counter. If the water beads up, it is sealed; if it absorbs and darkens the stone within 15 minutes, it needs to be resealed.
Can I use a store-bought cleaner to prep the vanity?
Most standard household cleaners are too harsh for granite and can strip existing sealers or damage the stone’s finish. Always use a dedicated stone cleaner or a mild, pH-neutral soap to ensure you don’t cause unintended damage during the cleaning phase.
Does a dark-colored granite vanity need less sealing than a light one?
Generally, yes, because darker granites are often denser and less porous than lighter varieties. However, you should still perform the water drop test annually to be sure, as the mineral composition of every slab varies significantly.
What happens if I don’t wipe away the excess sealer?
If the excess is not wiped away before it dries, it will leave a hazy, sticky, or streaky film on the surface. This is purely cosmetic and can usually be removed by applying a bit more sealer to soften the residue before buffing it off again.
Is it possible to over-seal a granite vanity top?
Yes, applying too much sealer or sealing too frequently can lead to a build-up on the surface. The stone can only absorb a certain amount of product, and anything extra will just sit on the top and create a dull, cloudy appearance that requires extra work to buff away.
Conclusion
Maintaining your home’s stone surfaces doesn’t have to be an intimidating chore. By regularly performing the water drop test, you can stay ahead of potential damage and keep your bathroom vanity looking as good as the day it was installed. Remember that re-sealing a granite vanity top is a simple, cost-effective way to protect your investment from the daily rigors of water exposure and staining.
Take the time to select a quality penetrating sealer and follow the manufacturer’s instructions for the best results. If you notice the stone absorbing water or looking dull, don’t hesitate to clean and reseal the surface.
With a little consistent care, your granite will continue to provide a beautiful, durable, and functional centerpiece for your bathroom. If you have questions about your specific stone type, consult with a professional stone fabricator to ensure you are using the best products for your particular slab.
Related Posts
What Is the Standard Front and Side Overhang for a Vanity Countertop?
-
Posted by
snighatfatima99@gmail.com
Is Bar Keepers Friend Safe to Use on Quartz Bathroom Vanities?
-
Posted by

Can You Cut a Pre-Cut Vanity Top Down from 37 Inches to 35 Inches?
-
Posted by
Why Is Water Pooling Around the Faucet Base on Your New Vanity Top?
-
Posted by