

BLOG
How to Level a Pre-Fab Vanity When the Tile Floor Has a 1/2 Inch Slope
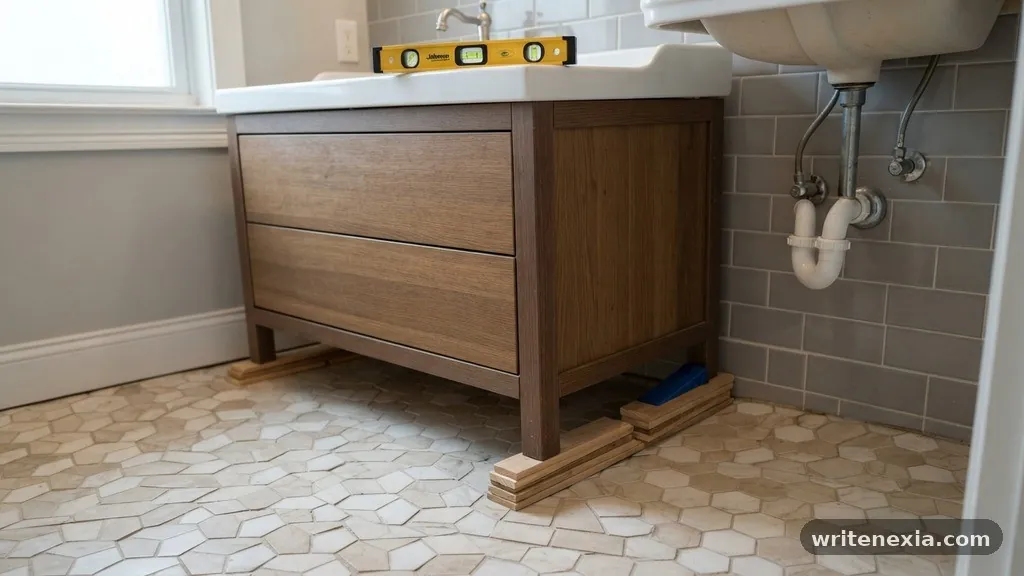
Dealing with a bathroom remodel often reveals hidden issues, and leveling a pre-fab vanity when the tile floor has a 1/2 inch slope is a common challenge for homeowners. A vanity that sits unevenly will not only look wrong but can also cause your countertop to crack and your cabinet doors to bind. Addressing this gap requires a methodical approach involving precise measurements, shimming, and securing the unit to the wall studs.
By properly accounting for the floor’s pitch, you ensure your vanity remains stable and functional for years. This process provides the structural integrity needed to protect your plumbing connections and your vanity finish from unnecessary stress.
The Immediate Fix: Using Shims for Stability
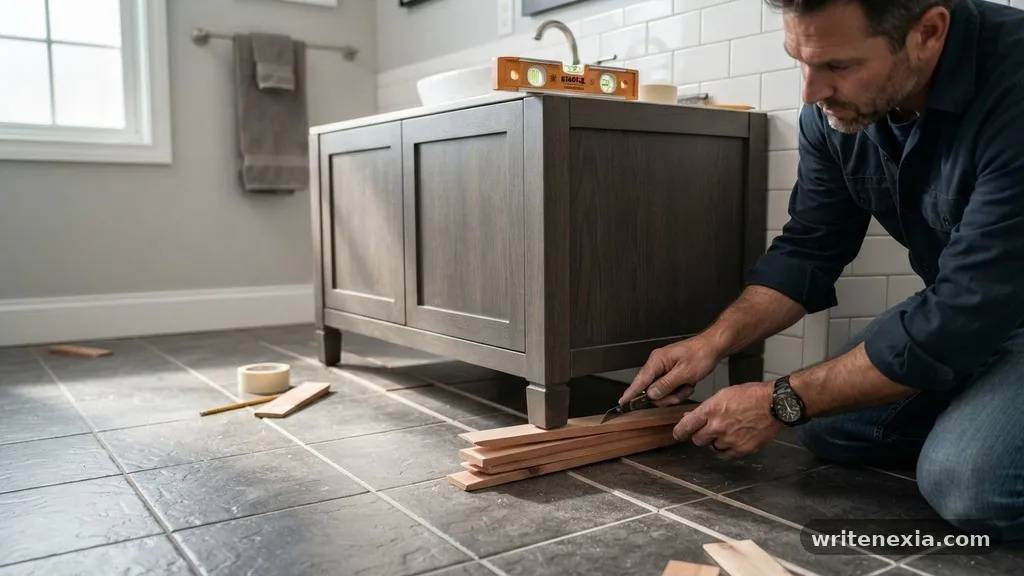
When you encounter a 1/2 inch slope, your primary tool for correction is the humble shim. You should start by placing a spirit level or laser level across the top of the vanity to determine exactly where the high and low points are. Because your floor drops by a half-inch, the side of the cabinet sitting on the lowest point will require a stack of shims to reach the level plane of the high side.
Avoid using makeshift items like cardboard or folded paper, as these compress over time and lose their structural integrity. Instead, opt for composite shims rather than traditional cedar shims in a bathroom setting.
Composite materials are impervious to the moisture that frequently accumulates around a bathroom floor. They will not rot, swell, or shrink when exposed to the humidity generated by your shower or sink.
Measuring and Marking the Slope
Before you commit to a permanent installation, you must accurately gauge the slope across the entire footprint of the vanity. Place your cabinet in its intended location and use a long level to check both the front-to-back and side-to-side orientation. If the floor is consistently sloping in one direction, mark the floor at the base of the cabinet where the gap is largest.
Use a scribe tool or a carpenter’s pencil to mark the cabinet base if you need to trim the bottom edge. However, for a 1/2 inch gap, shimming is usually the cleaner and more reversible option.
Ensure that you are measuring from the highest point of the tile floor, as this serves as your baseline. If you build up the low side without verifying the high side, you will end up with a cabinet that is level but stands too high for the plumbing rough-in.
Managing Plumbing and Rough-in Height
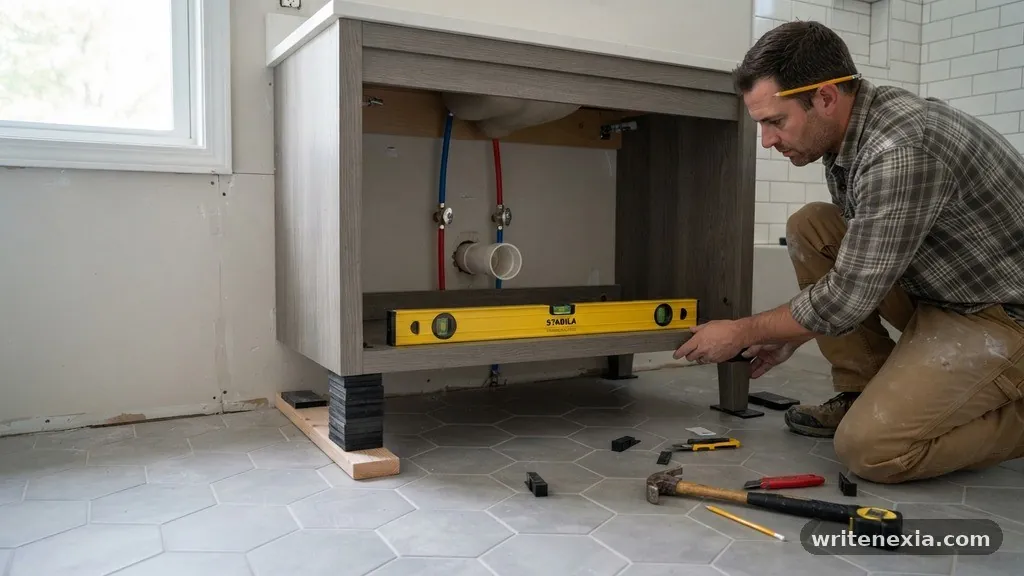
A significant risk when leveling a vanity is the alignment of your water supply lines and the P-trap. When you raise the vanity to accommodate a 1/2 inch slope, you effectively move the entire cabinet upward. This can cause the existing drain pipe in the wall to sit too low, preventing the P-trap from connecting properly.
Always check your shut-off valves before finalizing the vanity position. If the elevation change is significant, you might need to adjust the plumbing lines within the wall or use flexible supply lines to compensate for the shifted height.
If the P-trap alignment is off by more than a quarter-inch, it is safer to hire a plumber to relocate the drain rather than forcing the pipes. Forcing a connection creates tension that can lead to leaks behind your vanity, which often go unnoticed until significant water damage occurs.
Selecting the Right Shims for the Job
Not all shims are created equal, and the type you choose determines how long the leveling job will last. While cedar is easy to cut, it can be crushed by the weight of a heavy vanity top, especially if the cabinet is made of particleboard. Composite shims are denser and offer better load-bearing capacity for marble or granite vanity tops.
Comparison of Common Leveling Materials
| Material | Moisture Resistance | Load Capacity | Ease of Use |
|---|---|---|---|
| Composite Shims | Excellent | High | Moderate |
| Cedar Shims | Low | Medium | High |
| Plastic Wedges | High | Medium | Moderate |
When installing these, drive them in from both the front and the back of the cabinet to ensure even support. If you only shim the front, the back of the vanity may settle over time, causing the vanity top to pull away from the wall. Once the cabinet is level, use a multi-tool or an oscillating saw to trim the protruding ends of the shims flush with the cabinet base.
Securing to Wall Studs
Leveling is only the first step; securing the unit ensures it stays that way. Never rely on the weight of the vanity to hold it in place, especially if you have used significant shimming. Locate your wall studs using a stud finder and mark them clearly on the wall behind the vanity.
Use high-quality cabinet screws to anchor the vanity frame to the studs. If the vanity is a pre-fab model, it likely has a solid mounting rail at the back; if not, you may need to drill through the back panel into the studs.
Always use washers if the screw head is small to prevent it from pulling through the cabinet material. Secure the cabinet at both the top and bottom rails for maximum stability and to prevent any shifting during daily use.
Dealing with the Toe Kick Gap
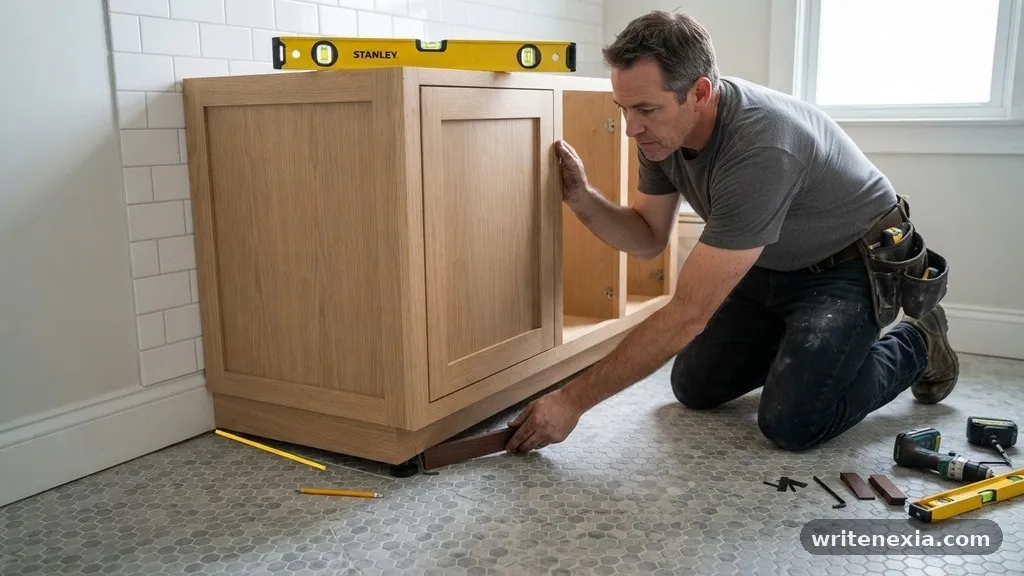
Once your vanity is perfectly level, you will likely notice a visible gap between the bottom of the vanity and the tile floor. This is an aesthetic issue rather than a structural one, but it can look unprofessional if left unaddressed. You can cover this gap by installing a piece of matching toe-kick molding or quarter-round trim.
If the gap is uneven, you may need to scribe the molding to match the contour of your tile. Use a piece of wood as a spacer to trace the floor’s profile onto the back of the molding.
Cut along this line with a coping saw or a jigsaw to ensure a tight, custom fit. Secure the molding with a small amount of construction adhesive or finish nails, but avoid nailing into the vanity base if it contains plumbing lines.
The Importance of a Moisture Barrier
Bathrooms are high-moisture environments, and the base of your vanity is particularly vulnerable to water splashes. When you shim a vanity, you create an open space between the cabinet and the floor that can trap water. To prevent mold and rot, apply a bead of silicone caulk along the front edge of the vanity where it meets the floor.
This sealant acts as a moisture barrier, preventing water from seeping under the cabinet and damaging the subfloor or the shims. Do not seal the back of the vanity against the wall, as you want any accidental leaks to be visible rather than trapped inside the wall cavity. A clean, thin line of silicone around the base provides a finished look and adds a layer of protection against daily cleaning routines.
Checking for Plumb and Square
Leveling is about the horizontal plane, but you must also ensure your vanity is plumb—perfectly vertical. If the vanity is not plumb, your cabinet doors will not hang correctly and may swing open or closed on their own. Use your level vertically against the side panels of the vanity to verify that the unit is not leaning forward or backward.
If the vanity is out of plumb, you may need to adjust your shims or add a secondary set of shims behind the top or bottom of the cabinet. A cabinet that is both level and plumb will ensure the doors operate smoothly and the drawers do not slide out unexpectedly. This attention to detail prevents the “racking” of the cabinet frame, which can cause the finish to crack at the joints over time.
When to Consider a Mortar Bed
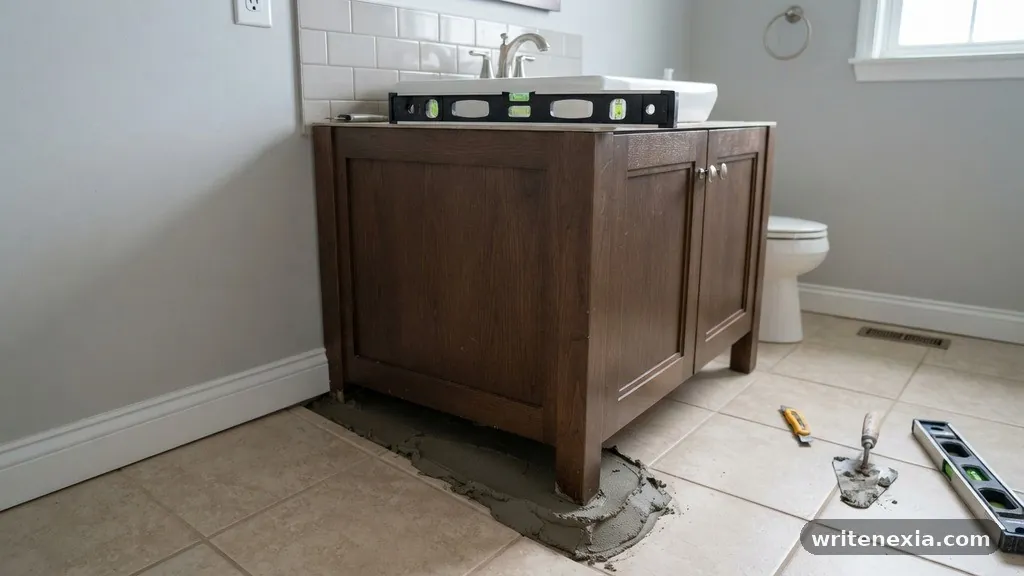
If the slope of your floor is severe—exceeding a full inch—shimming might become unstable or visually unappealing. In these cases, creating a level mortar bed is a more professional approach. You can build a small, level platform using a thin layer of quick-setting mortar or a leveling compound.
After the compound cures, you have a solid, flat surface to place your vanity on. This eliminates the need for extensive shimming and provides the most stable foundation possible for heavy stone countertops.
This method is more labor-intensive and requires waiting for the material to dry, but it is the most reliable way to handle significant floor irregularities. Always ensure the subfloor is clean and primed before applying any leveling compound to ensure proper adhesion.
Common Mistakes to Avoid
Many DIYers make the mistake of assuming the vanity is square out of the box. Always test the vanity frame before you begin, as pre-fab units can sometimes be slightly twisted from shipping. Another common error is failing to check the floor transition between the bathroom and the hallway.
If your vanity is too high, it might block the door swing or create a tripping hazard near the doorway. Always verify the overall height of the vanity top relative to the surrounding fixtures before you lock it in place.
Lastly, avoid using standard wood glue for shims; it is not designed for the high-moisture conditions found in bathrooms. Use construction-grade adhesives or leave the shims mechanical-only so they can be adjusted if the house settles.
FAQ: Troubleshooting Vanity Leveling
Do I really need to use a level for a small vanity?
Yes, even a small vanity requires a level surface. If the vanity is off-level, the weight of the countertop will distribute unevenly, which can lead to stress fractures in the vanity top or cause the cabinet frame to warp over time.
Can I just use grout to fill the gap under the vanity?
You should avoid using grout to fill the gap under a vanity. Grout is brittle and will crack as the floor and cabinet expand and contract with humidity changes. Use a flexible trim piece or silicone caulk instead.
What if my wall studs don’t line up with the vanity?
If the pre-drilled holes in your vanity do not align with your wall studs, do not try to use hollow wall anchors. Instead, drill new holes in the back rail of the vanity that align with the studs. If that is not possible, install a piece of blocking or a mounting cleat to the wall first.
How do I know if the floor is the problem or the vanity?
Use a long level to check the floor across the entire width of the vanity area. If the bubble is centered on the floor but off on the vanity, your vanity frame may be twisted. If the bubble is off on the floor, the substrate is the issue.
Is it okay to leave the vanity unattached if it’s level?
No, you must always secure the vanity to the wall. The weight of the plumbing fixtures and the vanity top can cause the unit to tip forward if it is not properly anchored to the wall studs.
Next Steps for Your Project
Successfully leveling a pre-fab vanity when the tile floor has a 1/2 inch slope is a rewarding project that significantly improves the longevity of your bathroom installation. By prioritizing structural stability with composite shims and ensuring a moisture-resistant finish, you protect your investment from future damage. Always double-check your plumbing connections and wall stud alignment before applying the final bead of silicone caulk.
If you find the slope is too severe for simple shimming, do not hesitate to use a leveling compound to create a solid base. Taking these extra steps ensures your vanity looks professional and remains functional for many years to come. If you have questions about specific product materials or need assistance with your plumbing layout, feel free to reach out for further guidance on your renovation.
Related Posts
25 Vibey Bathrooms That Transform Daily Routine
-
Posted by
snighatfatima99@gmail.com

24 Stunning Sage Green and Black Bathrooms
-
Posted by

11 DIY Bathroom Ideas on a Budget
-
Posted by

10 Easy DIY Bathroom Ideas
-
Posted by

11 DIY Bathroom Upgrades
-
Posted by

11 DIY Bathroom Ideas
-
Posted by

Tiny Space? 10 DIY Bathroom Ideas
-
Posted by

11 DIY Bathroom Design Hacks
-
Posted by

11 DIY Bathroom Ideas You’ll Love
-
Posted by

10 DIY Small Bathroom Ideas
-
Posted by

10 DIY Master Bath Ideas
-
Posted by

13 Small Bathroom Ideas
-
Posted by