

BLOG
Should You Caulk or Grout the Seam Between Vanity Top and Tile?
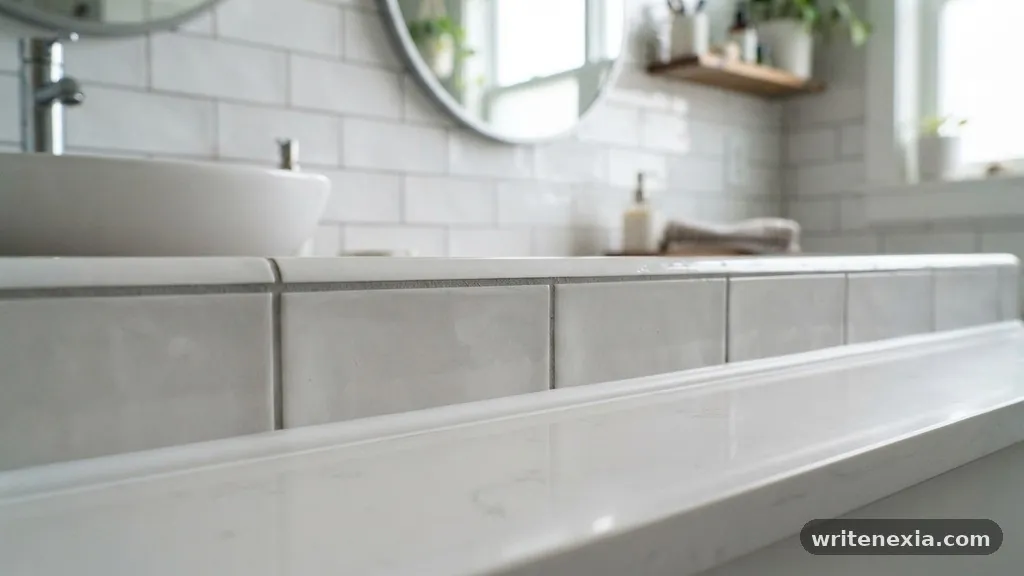
Deciding whether you should caulk or grout the seam between vanity top and tile is a common dilemma for homeowners finishing a bathroom renovation. While both materials serve to seal gaps, they possess fundamentally different physical properties that dictate their performance in wet environments.
Choosing the wrong one often leads to cracked lines, unsightly water damage, or mold growth within just a few months. This article provides the definitive answer to your installation questions, helping you ensure your bathroom remains both functional and visually appealing for years to come.
The Definitive Answer: Always Choose Caulk
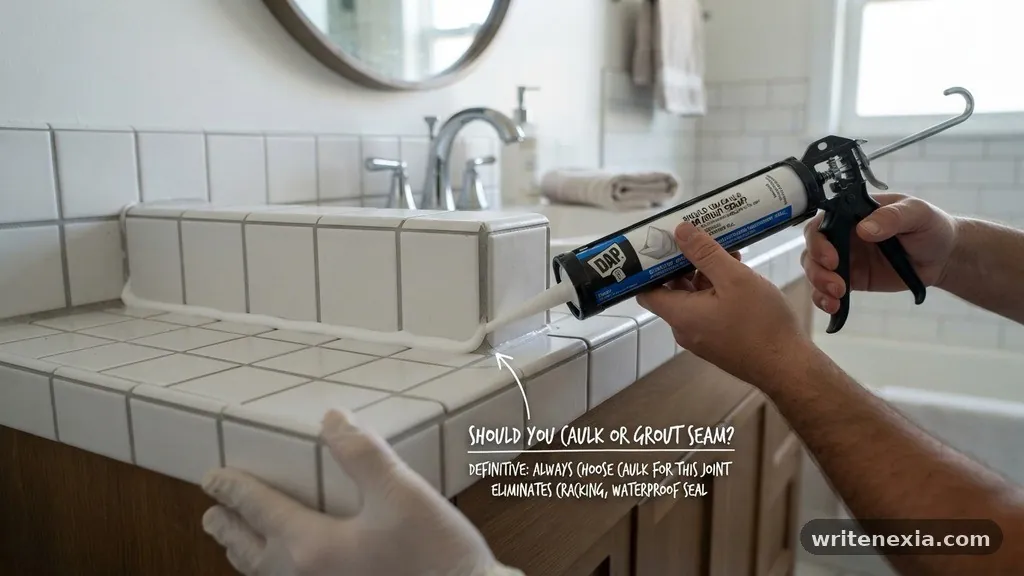
When you consider whether you should caulk or grout the seam between vanity top and tile, the answer is unequivocally to use caulk. Grout is a rigid, cement-based product designed to fill the spaces between tiles where there is minimal movement. Because a vanity top and a tiled wall are two separate structural elements that expand and contract at different rates, they create a “change of plane.”
If you use grout in this corner, the natural shifting of your home will cause the grout to crack almost immediately. Once the grout cracks, water seeps behind the vanity, leading to rot and mold. Silicone caulk, by contrast, remains flexible and absorbs the movement of the building without breaking the seal.
Understanding the Mechanics of Movement
Buildings are not static structures; they settle, shift, and vibrate due to temperature fluctuations and structural weight. When a heavy vanity top meets a wall, these two surfaces move independently of each other throughout the seasons. Grout has zero elasticity, meaning it acts as a brittle bridge between two moving objects.
When the vanity settles even a fraction of an inch, the grout line snaps, leaving an open path for moisture. This is why professional installers emphasize that any change of plane—where a horizontal surface meets a vertical one—must be sealed with a flexible sealant rather than a rigid grout.
The Role of Silicone in Moisture Control
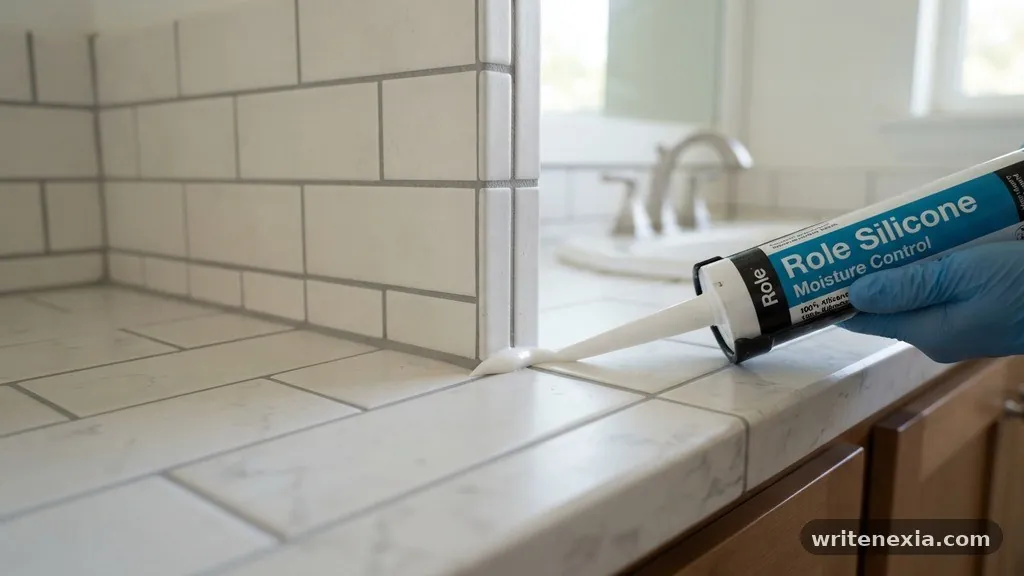
Silicone is the industry standard for sealing joints in bathrooms because it is inherently hydrophobic. Unlike sanded grout, which is porous and can absorb water if not perfectly sealed, high-quality 100% silicone creates an impenetrable barrier. It is specifically formulated to withstand the high humidity found in bathrooms, especially near sinks or showers.
By using silicone, you prevent water from migrating into the drywall or the wooden vanity cabinet. This simple choice saves you from the expensive, long-term headaches associated with water-damaged cabinetry and subfloors.
Comparing Sealing Materials
To understand the difference in performance, it is helpful to look at how these materials function under stress. The table below outlines the primary differences between using caulk versus grout in a corner joint.
| Feature | Silicone Caulk | Sanded/Unsanded Grout |
|---|---|---|
| Flexibility | High (stretches with movement) | None (rigid/brittle) |
| Waterproofing | Excellent (waterproof) | Poor (porous) |
| Application | Bead application | Trowel/Float application |
| Longevity in Corners | High (if installed correctly) | Low (cracks easily) |
Why Grout Fails in Corners
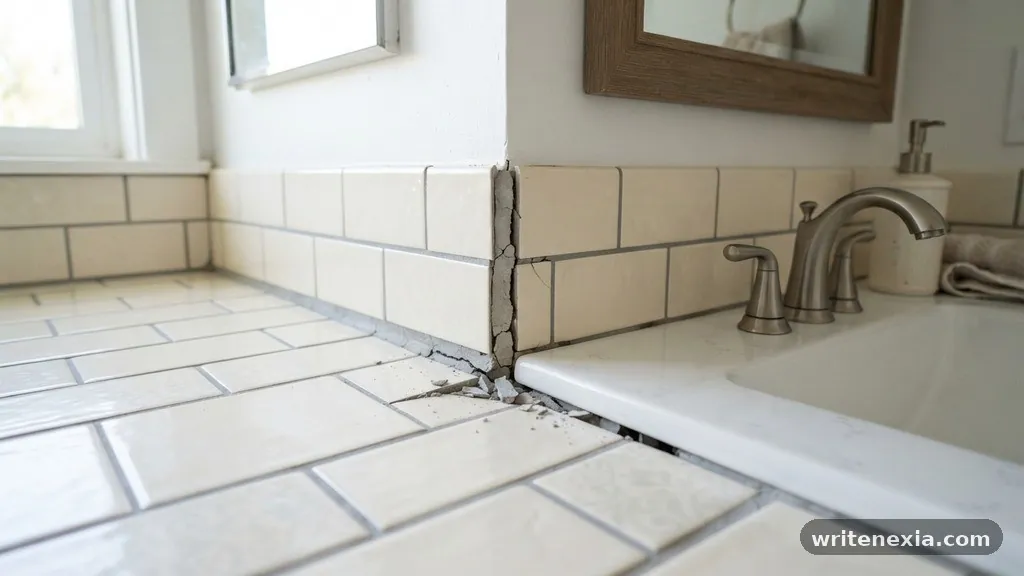
Many homeowners mistakenly use grout in corners because they want the color to match the rest of the wall perfectly. While aesthetic uniformity is a valid design goal, it should never take precedence over structural integrity. Grout is designed for the flat, stable joints between tiles on a wall or floor.
When forced into a corner, it is subjected to shear forces that it cannot withstand. Even if you use a color-matched “grout caulk” (a flexible sealant designed to mimic the appearance of grout), the underlying material must be elastomeric to prevent failure.
Benefits of Using Silicone Caulk
* Flexibility: Accommodates the natural expansion and contraction of your home.
* Mold Resistance: Most modern bathroom silicones contain biocides that inhibit mold and mildew growth.
* Waterproof Barrier: Keeps water from reaching the substrate, protecting your wall studs and vanity backing.
* Ease of Maintenance: Silicone is easy to clean and can be replaced if it eventually degrades or peels.
* Adhesion: Bonds well to both stone/quartz vanity tops and ceramic/porcelain wall tiles.
Surface Preparation Before Application
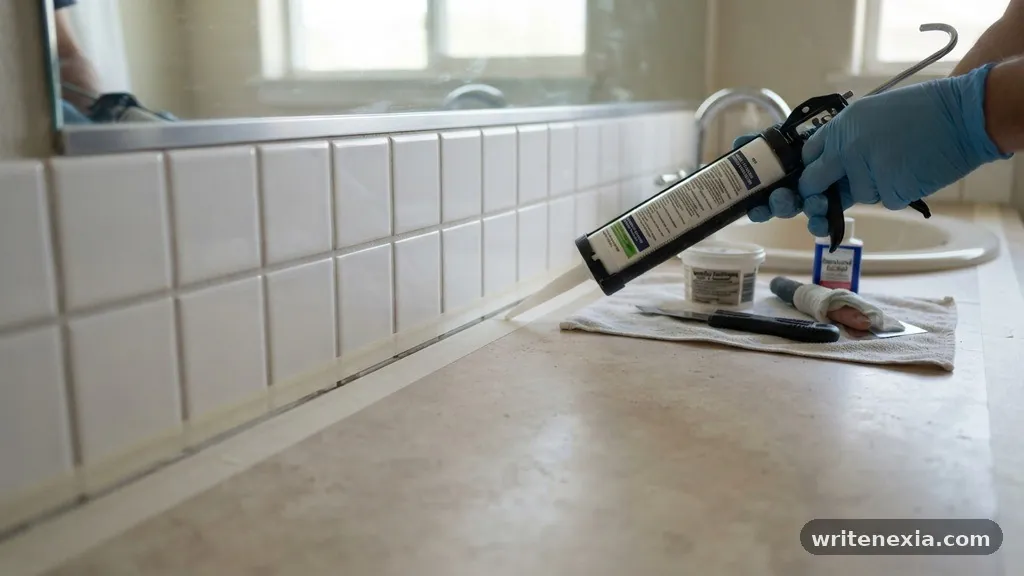
Whether you are applying caulk to a brand-new vanity or replacing old grout, preparation is the most critical step. You must remove all traces of old, failing grout or existing caulk using a utility knife or a specialized removal tool. The seam must be completely dry and free of soap scum, dust, or grease before you apply the new sealant.
If the surface is damp, the silicone will not adhere properly, and you will find it peeling away within weeks. Use rubbing alcohol to wipe down the joint and ensure a pristine, sterile surface for the best bond.
Tips for a Professional Finish
Applying caulk can be messy if you don’t have the right technique. To get a clean, professional look, use painter’s tape on both the vanity top and the wall to define the exact width of the bead.
Apply a smooth, consistent bead of silicone, then use a caulk finishing tool or a gloved finger dipped in soapy water to smooth it out. Removing the tape immediately after smoothing prevents the silicone from skinning over and dragging, which ensures that perfect, concave finish that prevents water from pooling in the corner.
Addressing Existing Cracked Grout
If you currently have grout in the seam between your vanity and tile and it is already cracking, you need to address it immediately. Do not try to simply apply more grout over the top, as it will just crack again. You must carefully dig out all the old, loose grout using a manual grout saw or a rotary tool with a grout-removal bit.
Once the gap is cleared and cleaned, fill it with a high-quality, color-matched silicone caulk. This process restores the waterproof seal and stops any moisture damage from progressing further into your wall cavity.
Choosing the Right Product
Not all silicones are created equal, and choosing the wrong type can lead to staining or poor performance. Look for “100% silicone” rather than “siliconized acrylic” or “latex caulk” for bathroom applications. While latex-based caulks are paintable and easier to clean up, they are not as durable or waterproof as pure silicone.
If you are worried about the appearance, many manufacturers offer color-matched silicone that precisely matches the grout color used elsewhere in the room. This gives you the aesthetic benefits of grout with the physical performance of silicone.
Frequently Asked Questions
Can I put caulk over existing grout?
No, you should never apply caulk directly over old grout. The grout is likely cracked or loose, and it does not provide a stable surface for the caulk to bond to. You must remove the old material first to ensure a long-lasting, waterproof seal.
Does color-matched caulk really exist?
Yes, many major grout manufacturers produce a silicone sealant that matches their standard grout color palette exactly. You can usually find these at professional tile supply stores or high-end home improvement centers.
How often should I replace the caulk in my bathroom?
In a well-ventilated bathroom, high-quality silicone caulk can last for 5 to 10 years. You should inspect it annually for signs of peeling, yellowing, or mold growth, which indicate it is time for a refresh.
Is it okay to use grout if the vanity and wall are the same material?
Even if the vanity and wall are made of the same stone or tile, they are still two separate surfaces that move independently. You should always use flexible caulk at the change of plane to avoid cracking.
What if the gap is too wide for caulk?
If the gap is exceptionally wide, you should use a foam backer rod before applying the caulk. This fills the void and provides a foundation, preventing the caulk from sagging or sinking into the deep crevice.
Long-term Maintenance and Care
Once you have successfully applied your silicone caulk, maintaining it is straightforward. Keep the area clean by wiping it down regularly to remove soap residue and water droplets, which are the primary food sources for mold.
If you see tiny black spots appearing on the surface, wipe them away immediately with a mild cleaner; if the mold has penetrated the silicone, you may need to cut it out and replace that section. By keeping the area dry and clean, you significantly extend the life of the sealant and keep your bathroom looking fresh.
Final Thoughts on Installation
The decision to use flexible sealant over rigid grout is one of the most important steps in bathroom construction. While it might be tempting to use the same grout you used for your wall tiles, the physical reality of building movement makes this a mistake that will eventually lead to repairs. By using the right 100% silicone product and taking the time to prepare the joint correctly, you ensure your vanity area remains dry and protected.
If you are currently dealing with cracks in your bathroom, take the time to remove that old grout and replace it with a flexible, color-matched silicone today. This simple maintenance task is the best way to safeguard your home against moisture damage and keep your bathroom looking its best for years to come.
Related Posts
Why Is Water Pooling Around the Faucet Base on Your New Vanity Top?
-
Posted by
snighatfatima99@gmail.com
How to Fill Large Gaps Between Uneven Bathroom Walls and Vanity Top
-
Posted by