
BLOG
Can You Cut a Pre-Cut Vanity Top Down from 37 Inches to 35 Inches?
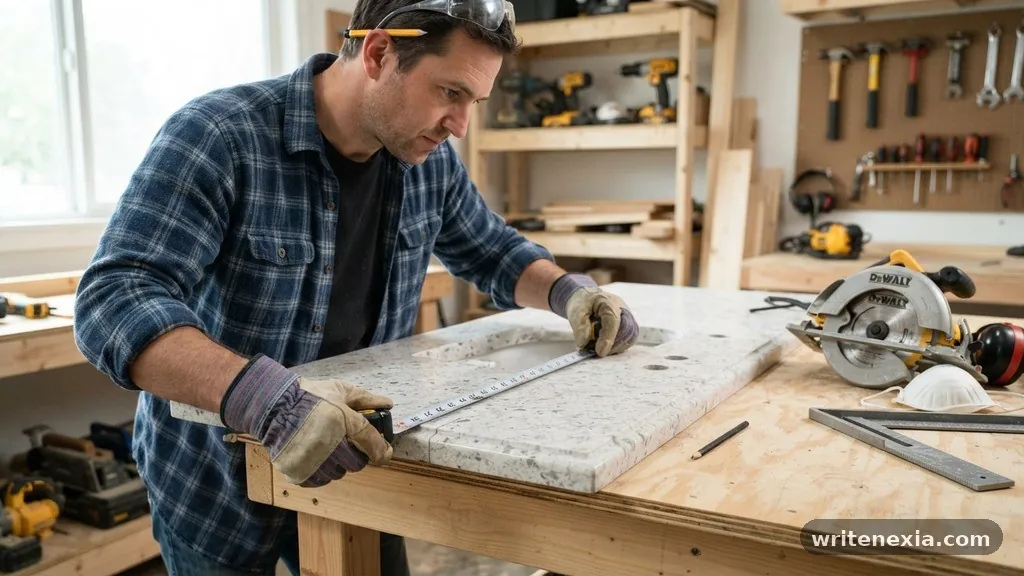
Deciding whether you can cut a pre-cut vanity top down from 37 inches to 35 inches is a common dilemma when your bathroom layout doesn’t match standard retail sizes. This adjustment is physically possible, but the success of the project depends entirely on the specific material of your countertop and your access to the right cutting tools. Taking two inches off a vanity top requires precision to avoid cracking the slab or leaving an unsightly, jagged edge.
This article explains the technical requirements, safety precautions, and material-specific challenges you need to navigate before attempting this modification. Understanding these variables will help you determine if you should tackle this as a DIY project or call a professional.
The short answer is yes, you can cut a pre-cut vanity top down from 37 inches to 35 inches, provided you use the correct equipment for the material. Removing two inches is a manageable amount for most stone or composite surfaces, but the process changes significantly depending on whether you are working with cultured marble, natural stone, or solid surface materials. You must ensure that the vanity cabinet underneath can still support the shortened top once the overhang is adjusted.
If your vanity top is a standard cultured marble or solid surface piece, you can typically use a standard circular saw equipped with a diamond-tipped masonry blade. If you are dealing with heavy natural stone like granite or quartz, you risk fracturing the material unless you have a high-end wet saw and significant experience. Never attempt to cut these materials with a standard wood-cutting blade, as the blade will dull instantly and likely cause the vanity top to shatter.
Assessing Your Vanity Top Material
Before you make your first cut, you need to identify the exact composition of your countertop. Different materials react differently to vibration, heat, and pressure during the cutting process. Cultured marble, for instance, is a resin-based product that is relatively easy to trim but prone to chipping if the feed rate is too fast.
Natural stone, such as granite or marble, is much denser and requires a cooling agent to prevent the material from cracking due to friction heat. Engineered stone or quartz is incredibly hard and often contains resins that can melt or discolor if the blade speed is not managed correctly. If your vanity top is made of a laminate or thin synthetic material, a circular saw might be too aggressive, potentially tearing the surface layer.
Essential Tools for the Job
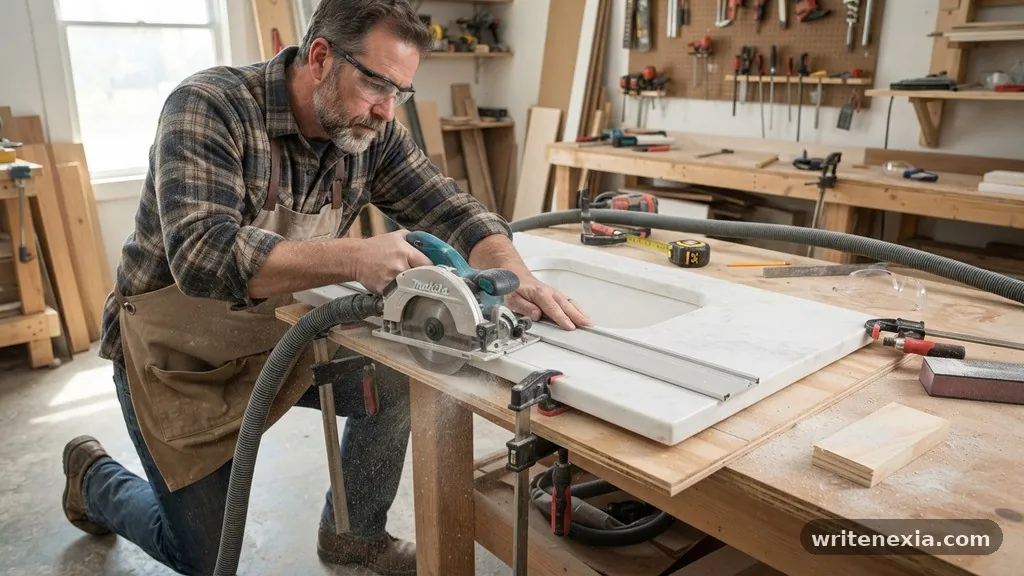
To perform a successful cut, you need more than just a saw. You will need a high-quality diamond blade designed specifically for the material you are cutting. A wet-cutting saw is ideal because it keeps the blade cool and minimizes the hazardous silica dust that becomes airborne when cutting stone or quartz.
If you don’t own a professional-grade wet saw, you can rent one from a local hardware store for a daily fee. You will also need a straight edge or a guide rail to ensure your cut is perfectly square and straight. Because you are removing two inches, you should also have a set of clamps to secure the vanity top to your workbench to prevent any movement while the blade is running.
Safety Considerations and Dust Management
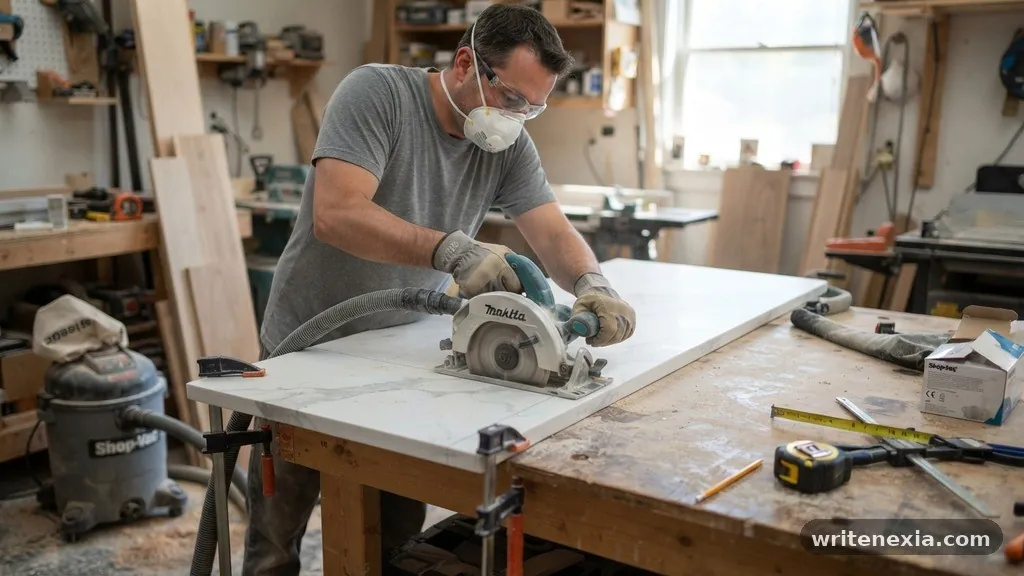
Cutting bathroom vanity materials creates a significant amount of dust, some of which may contain silica. You must wear an N95-rated respirator or a P100 mask to protect your lungs from fine particles. Eye protection is non-negotiable; safety glasses or a full face shield will protect you from flying stone chips that can travel at high speeds.
Work in a well-ventilated area, preferably outdoors, to keep your workspace clear of dust accumulation. If you are cutting indoors, you must seal off the room and use a HEPA-filtered vacuum attached to the saw’s dust port. Remember that water and electricity are a dangerous combination, so ensure your power cords are kept away from the water spray of a wet saw.
Measuring and Marking the Cut
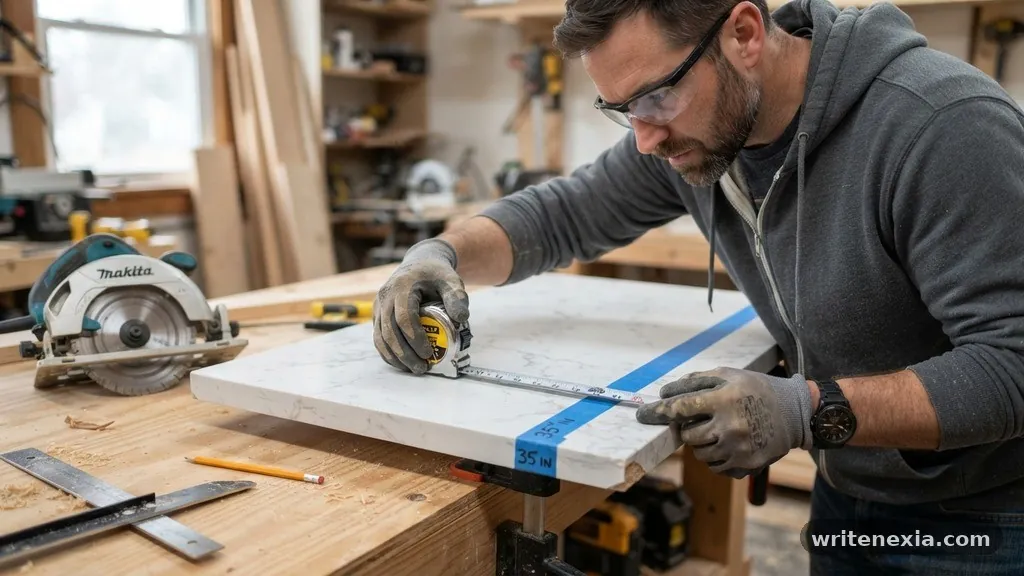
Precision is the most important part of this process because you cannot add material back once it has been removed. Measure the desired 35-inch length from the finished edge of the vanity top, not the rough edge. Use a carpenter’s square to draw a perfectly perpendicular line across the surface where you intend to cut.
Apply masking tape over the line you have drawn to help prevent the surface material from chipping as the blade enters and exits the cut. Double-check your measurements against the dimensions of your bathroom alcove or cabinet. Remember that you may need to account for wall irregularities, so it is often safer to cut slightly proud of your mark and sand the edge down to a perfect fit later.
Handling the Finished Edge
After you have successfully cut the vanity top down to 35 inches, the edge will be raw and unfinished. If the vanity top is installed against a wall, the raw edge might be hidden by the backsplash or the wall itself. However, if the cut side is exposed, you will need to polish it to match the factory-finished edges.
You can use a series of diamond polishing pads, starting with a coarse grit and moving to a fine grit, to smooth the cut surface. This process requires a handheld variable-speed polisher and a steady hand. Many DIYers find that the raw edge looks acceptable if it is tucked against a side wall and covered with a bead of silicone caulk, eliminating the need for extensive polishing.
Common Risks and Potential Pitfalls
The biggest risk when trimming a vanity top is the possibility of the material snapping along a weak point, such as the sink cutout. If your 37-inch top has a centered sink, removing two inches from one side will shift the sink’s position relative to the center of the cabinet. You must ensure that the new 35-inch length still leaves enough material to support the sink basin securely.
Another risk is the “blowout” that occurs when the saw blade exits the material at the end of the cut. To avoid this, you can clamp a sacrificial piece of wood to the underside of the vanity top where the blade will exit. This creates a bridge that supports the material and prevents the stone from breaking away prematurely.
Comparing Modification Methods
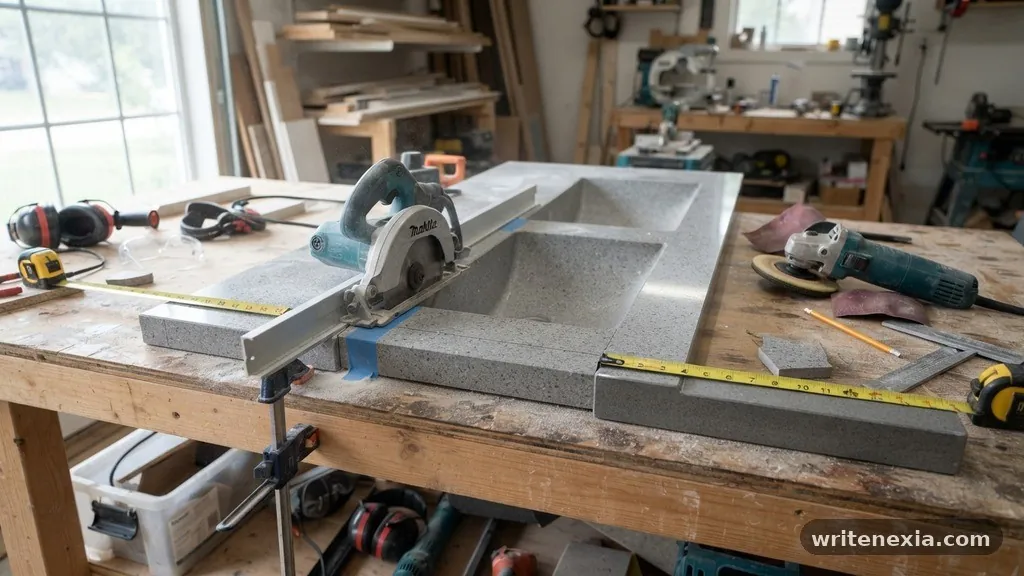
Depending on your comfort level with power tools, you have several options for achieving your target length.
| Method | Equipment Needed | Risk Level | Finish Quality |
|---|---|---|---|
| Wet Saw (Rental) | Diamond blade, water pump | Low | High |
| Circular Saw (Dry) | Diamond blade, guide | High | Moderate |
| Hand Grinder | Diamond cup wheel | Moderate | High (Requires skill) |
Professional vs. DIY Approaches
If you are not confident in your ability to make a clean, straight cut, hiring a professional stone fabricator is the safest path. Fabricators have specialized machinery that can cut through thick slabs in a single pass without the risk of cracking. They can also provide a professional bullnose or eased edge finish that is difficult to replicate by hand.
However, hiring a professional can be expensive, sometimes costing as much as buying a new 35-inch vanity top. If you choose to do it yourself, start by practicing on a scrap piece of similar material. This will give you a feel for how the blade reacts and help you adjust your speed to achieve a clean cut.
Frequently Asked Questions
Is it possible to cut a vanity top without removing the sink?
It is technically possible if the sink is an undermount, but it is highly inadvisable. The vibration from the saw can cause the sink to detach or the seal to break. It is best to remove the vanity top entirely from the cabinet before making any cuts.
Will cutting the vanity top void the warranty?
Yes, almost all manufacturers will void their warranty the moment you cut or modify the vanity top. Be aware that if you crack the slab during your attempt, you will not be able to return it or claim a refund.
Can I cut a 37-inch top to 35 inches if it has a backsplash?
You will need to cut the backsplash as well. Make sure you measure the backsplash to the same length as the vanity top. If the backsplash is attached to the wall, you may need to remove it carefully before cutting the top.
What is the most common mistake when cutting vanity tops?
The most common error is failing to secure the vanity top properly. Any movement or vibration during the cutting process will lead to uneven edges or catastrophic cracks across the surface.
Can I use a jigsaw for this project?
A jigsaw is generally not recommended for cutting stone or solid surface vanity tops. The blade flexes too much, leading to inaccurate cuts and a high chance of breaking the material.
Conclusion
Successfully modifying a vanity top requires careful planning and the right set of tools. While you can cut a pre-cut vanity top down from 37 inches to 35 inches, you must be prepared for the dust, the noise, and the risk of damaging the material. Always verify that your cabinet can handle the modified size and that the sink cutout remains structurally sound.
By taking your time with measurements and using a proper wet saw, you can achieve a professional-looking result that fits your space perfectly. If the process feels beyond your current skill level, don’t hesitate to consult a local fabricator who can handle the job with precision. Taking these steps ensures your bathroom renovation remains on track and within your budget.
Related Posts
How to Re-Seal a Granite Vanity Top: Water Drop Test Explained
-
Posted by
snighatfatima99@gmail.com
What Is the Standard Front and Side Overhang for a Vanity Countertop?
-
Posted by
Is Bar Keepers Friend Safe to Use on Quartz Bathroom Vanities?
-
Posted by
Why Is Water Pooling Around the Faucet Base on Your New Vanity Top?
-
Posted by
Best Heavy-Duty Steel Brackets for Supporting Granite Vanity Tops
-
Posted by
Should You Caulk or Grout the Seam Between Vanity Top and Tile?
-
Posted by
How to Fill Large Gaps Between Uneven Bathroom Walls and Vanity Top
-
Posted by